Cotton Candy Popsicles

Cotton Candy Popsicles

Summertime means sun, lots of outdoor fun and a time when you can buy the most delicious fruit! One in particular – Cotton Candy grapes! If you haven’t heard of them, ask your local grocer if they are getting any in and make sure to grab a bag before they are gone. I know when they hit the shelves in our hometown they don’t last long!  They are super sweet and taste just like cotton candy.

We grabbed a bag and decided to make popsicles with them!  And these couldn’t be easier!

Cotton

The cub started by chopping the grapes in half. We wanted to keep some of the grapes in bigger chunks.

Cotton1

The rest of the grapes she dumped into the blender.

Cotton2

For liquid we added one squeeze apple juice box to the blender.

Cotton3

A quick stir and then it was time to blend up the ingredients.

Cotton4

Time to get the Koji popsicle mold ready for the mixture.

Cotton5

In goes the apple grape mixture… oh, and a little friend joined in on the fun.

Cotton6

Grandma DiDi, the cub and her friend all helped put the grape halves in the popsicle mold. The bigger chunks give the popsicle more texture.

Cotton7

Last step before they go in the freezer is to put the sticks and caps on.  Notice that Grandma DiDi is getting a little help from a Santa sticker strategically placed on her arm by the cub earlier that morning.

Cotton8

Finally! The sweetest popsicle on a hot summer day!


Cotton Candy Popsicles

Ingredients

  • 1 1/2 cups of cotton candy grapes; save about 1/8 cup just chopped
  • 1 7oz apple juice box

Directions

  1. Wash and prepare grapes
  2. Chop all grapes (reserve approximately 1/8 cup)
  3. Place grapes (except reserved) in blender
  4. Add 1 box of apple juice
  5. Blend for about 1 minute or pulse about 10 times
  6. Pour into popsicle mold
  7. Add reserved chopped grapes to each popsicle mold
  8. Freeze and enjoy. It should take 1 – 3 hours to fully freeze depending on the molds you use

Plantain Crusted Chicken Strips

Plantain Crusted Chicken Strips

A new restaurant recently opened up by our house and they make these amazingly crunchy and slightly sweet plantain chicken strips. The cub loves them so we decided to try and recreate them. Not quite the same, but close!

Chicken

The cub started off the preparations by scooping some coconut oil into a bowl. This will serve as a coating for the chicken.

Chicken1

We ran to our nearest Trader Joes and grabbed their Sweet Plantain Chips. Sooo good!

We placed the chips in an old coffee grinder to bring them to a fine ground.

chicken4

The cub enjoyed pushing the button!

chicken3

Grandma DiDi scooped the plantain grinds into a bowl while the cub watched.

Chicken5

The cub seasoned the plantains with salt and pepper. Now they are ready to dip the chicken!

Chicken6

The cub helps Grandma DiDi coat the chicken in plantain grinds.

chicken7

The chicken strips are placed on a baking sheet ready to go in the oven.

chicken8

Time to dig in!

chicken9

Try our healthier version of a chicken strip! Enjoy!

Plantain Crusted Chicken Strips

Ingredients

  • 1/2 lbs. chicken breast strips
  • 1/2 bag Sweet Plantain Chips from Trader Joes, crushed to either a crunchy or fine grind
  • Approximately 3 tbsp coconut oil, melted or 2 eggs whipped
  • Fine sea salt and freshly ground black pepper, to taste

Directions

  1. Heat the oven to 350°F
  2. Grind plantain chips to a fine ground (or courser if you choose)
  3. Season plantain grounds with salt and pepper
  4. Dip chicken strips in coconut oil (egg would work also here)
  5. Dredge chicken in plantain grounds
  6. Place chicken on parchment covered baking sheets
  7. Bake chicken for 15 – 20 min or until cooked through


Kale Popcorn

Kale Popcorn

Need an easy snack that your kids will love that also has some nutritional value to it? Look no further – an easy recipe that will satisfy that salty craving all while eating your greens! It’s a win-win situation!

Kale

The cub began by helping strip the kale from the stems.

Kale1

Grandma says, “Way to go”!

Kale3

Once all the kale had been stripped, the cub stopped for a snack. Raw kale for the win!

Kale4

Next up, the cub oils the baking sheets.

Kale5

And tosses the kale in the oil and adds some salt for flavor.

kale6

While the kale bakes in the oven, the cub gets to work prepping the toppings. Popcorn wouldn’t be complete without a little cheese!  Yes, this task necessitated a princess and some help from Grandma!

Kale7

After the kale was cooled, the cub crushed the chips into small pieces.

Kale8

But she needs to taste them first to make sure they are just right! Delicious!

Kale9

Once all the kale has been crushed, Grandma DiDi adds the popcorn to the mixture. We used pre popped popcorn from the store, but you can make your own if you prefer.

Kale10

The cub stirs it up so that all the popped kernels are covered.

Kale11

Grandma DiDi does the final toss!

Kale12

The finished product. It didn’t last long!

Kale Popcorn

(Adapted from Smitten Kitchen Kale Dusted Popcorn recipe)

Ingredients

Kale Dust:

  • A bundle of Lacinato kale (aka dinosaur or Tuscan) although, we used red curly kale
  • 1 tablespoon olive oil
  • Sea salt

To finish:

  • 4 to 5 tablespoons olive oil
  • 1/3 cup popcorn kernels or bag of popped popcorn(we used  1 bag of Trader Joe’s olive oil popcorn)
  • 2/3 cup finely grated Pecorino Romano
  • Fine sea salt and freshly ground black pepper, to taste

Directions

  1. Heat the oven to 300°F. Rinse and dry the kale. Remove and discard the tough stems.
  2. Lightly brush two large baking sheets with olive oil. Arrange the leaves in one layer on the prepared baking sheets, sprinkle lightly with salt, and bake for 12 to 14 minutes, until the leaves are crisp. Let cool completely. In a food processor, with a mortar and pestle, or even with a muddler in a bowl, grind the kale chips down into a coarse powder.
  3. Make the popcorn (Directions from Smitten Kitchen): Place 3 tablespoons olive oil and 2 or 3 kernels of popcorn in a 3-quart or larger pot. Turn the heat to medium-high, and cover with a lid. When you hear these first kernels pop, add the remaining kernels and replace the lid. Using pot holders, shimmy the pot around to keep the kernels moving as they pop. When several seconds pass between pops, remove from the heat. (Or use your preferred brand bag of popcorn heated in oven on tray for just a couple minutes.)
  4. Transfer to a bowl, and immediately toss with the remaining 1 to 2 tablespoons olive oil, kale dust, Pecorino, salt, and a few grinds of black pepper. Toss until evenly coated. Taste, and adjust the seasonings if needed.


Homemade Whole Wheat Pasta

Homemade Whole Wheat Pasta

Delizioso! Nothing like homemade pasta! Grandma DiDi and the cub took on the task of making homemade whole wheat pasta and boy was it worth it! All the while, the cub learned about the time and energy it takes to prepare and cook noodles.

Pasta

The cub was feeling brave today and decided to work with the food processor. In goes the flour.

Pasta1

Then the eggs and a little water!

pasta2

The cub watches while Grandma DiDi mixes the dough. The cub stands back, but isn’t as intimidated this time around.

pasta3

Grandma DiDi rolls out the dough.

pasta5

Now it’s the cubs turn to pat the dough and shape it so it can rest for an hour.

Pasta6

The cub delicately wraps the dough with plastic wrap.

pasta7

Time to feed the dough through the Kitchenaid pasta attachment.

pasta8

After a few passes, the dough stretches out nice and long! Almost time to feed through the noodle press. The cub enjoys her duty of helping hold the dough with her hands.

pasta9

The cub got to pick between fettuccini and spaghetti… she chose Fettuccini and was eager to help feed it thought the roller.

pasta10

All done and the cub wants me to see her finished work!

pasta11

Fettuccini!

pasta12

And we had enough dough to make spaghetti!

pasta13

Lunch is served! Our version of Caccio e pepe! We added oil, butter, salt, pepper, parmesan and peas! Make your own creation and share it with us!


Whole Wheat Homemade Pasta

(adapted from Small Victories)

Ingredients

  • 2 1/4 cups whole wheat flour
  • 3 eggs
  • 1 tsp kosher salt
  • Water, as needed

Directions

  1. Combine in bowl or food processor the flour, eggs and salt. Run machine until it forms ball of dough and it doesn’t stick to fingers or blade. Add water, teaspoon at a time, until this occurs (took more water with the whole wheat flour than with all-purpose). When dough has formed, pat into flat disk and dust with some extra flour. Wrap in plastic wrap and let rest at room temp for one hour.
  2. Line baking sheet with parchment paper.
  3. Using a kitchenaid mixer with correct attachments:  After dough has rested for an hour, cut dough into about 6 equal pieces (keep the rest covered).  Press one piece of dough down with the heel of your palm until it flattens,  then run it through the pasta machine on level one. I needed to do level 1 several times with the whole wheat pasta, folding over once or twice to get the consistency correct. Run dough sheets through every level (up to6 or 7) at least once or twice until you have achieved desired consistency.  Towards the end, sheets become very long and it’s necessary to gently carry them on the backs of your hands.  If dough becomes sticky dust with a little flour.
  4. You can use the flat sheets for lasagna – no pre cooking needed. We changed the attachment and fed the sheets through to make fettuccini and spaghetti.
  5. Cook noodles in boiling, salted water for about 3 minutes  and serve with your favorite sauce/toppings.
  6. All pasta should be cooked right away or refrigerated in an air tight container for up to 3 days.


Strawberry Spinach Wrap

Strawberry Spinach Wrap

Staying creative with meals can be a challenge, allowing us to easily fall into the same routine – I’m very guilty of this! This wrap is easy and uses items you probably already have in your refrigerator.

The cub loves sour foods, i.e., lemon, vinegar, etc. So when thinking of something that would fit her palate, we decided to make a sweet and sour tasting wrap! The perfect balance in flavor and nutrition.

wrap

The cub began by helping Grandma DiDi cut up the strawberries.

wrap1

Next up, Grandma DiDi made the ricotta spread. She used regular ricotta cheese and added honey .

wrap2

The cub loves lemon, so we zested a lemon and added it to the ricotta spread to create a light balance that was slightly sweet with the zesty brightness of the citrus.

wrap3

The cub must try it to make sure it’s just right! She approves!

wrap4

Grandma DiDi grabs a lavash wrap and spreads the ricotta on one side.

wrap5

Next, the cub layers spinach leaves on the ricotta.

wrap6

On go the strawberries!

wrap7

Strawberries go really well with a balsamic dressing so we added that to give it a bit more flavor. The cub helps drip it on the strawberries. It’s almost time to eat!


wrap8

Such fun watching it roll up. Some of the ingredients fell out the side and the cub helped push them back in as Grandma DiDi rolled it up.

wrap11

Dig in! A perfectly balanced snack or lunch that is sure to satisfy your sweet and sour cravings!


Spinach Strawberry Wrap

Ingredients for 2 wraps

  • 1 12 x 9  whole wheat Lavash cut in half
  • Handful of spinach/or arugula
  • 1/2 cup strawberries, sliced
  • 1/2 cup ricotta cheese
  • 1 tsp lemon zest or to taste
  • 1 tsp honey or to taste
  • 1 tsp balsamic vinegar
  • 2 tsp olive oil
  • Salt and pepper to taste

Directions

  1. Cut the lavash in half, crosswise.
  2. Mix the ricotta cheese with honey and lemon zest and set aside. Wash the strawberries and slice.
  3. Make dressing by mixing vinegar, oil and salt and pepper.
  4. To assemble, spread half of the ricotta on top half of the lavash as well as the one inch portion on other end to create a glue when you roll it into a wrap.
  5. Cover the ricotta with a thin layer of spinach.
  6. Cover the spinach with a thin layer of strawberries.
  7. Drizzle with as much balsamic dressing as you would like and roll up.
  8. Cut in half at an angle or into two inch rings.
  9. Remaining dressing can be used for dipping on the side.


Deviled Egg Bunnies

Deviled Egg Bunnies

Easter is upon us, and before you run out to the store to grab everything you need for the celebrations, consider jazzing up your deviled egg recipe by adding some bunny faces to them.

bunny3

After the eggs had been hard-boiled and cooled, the cub got right into rolling and peeling them. It took a few tries until she understood how to roll them under her palm. On this particular day she woke up feeling like a princess, so, of course, she needed to dress the part.

bunny4

Grandma DiDi then demonstrated how to cut them in half. With a little bit of help, the cub did an excellent job.

Bunny

Grandma DiDi showed the cub how to pop the yolk out of the egg white. The cub watched intently.

bunny1

She did it! Yay!

bunny5

Now it’s the cubs turn. This took patience and practice.

Bunny6

One for you, one for me. The cub is always tasting the food we make.

bunny7

Now for the additions to the deviled egg mix. The Cub and her knife skills went to work. Chopping the celery to add to the mix was easy.

bunny8

This Cinderella princess is right at ease stirring up a batch of deviled eggs.

bunny10

Pausing to smell the ingredients is a MUST. The cub helps us chop some dill for the deviled egg mix and I think we will also use some for whiskers.

bunny9

Next up the cub chopped up some olives for the deviled egg bunny decorations. We think we will use them for eyes and maybe a nose!

bunny11

We let the cub design her own, but for our finished product, Grandma DiDi took over the assembly of the bunnies.

bunny13

HOPPY EASTER!

bunny15

We hope you enjoy the day with friends and family!

Deviled Egg Bunnies

Ingredients

  • Dozen hard-boiled eggs
  • 1 -2 Tbsp Chopped celery (to taste)
  • 1-2 Tbsp mayonaise
  • 2-3 Tbsp greek yogurt
  • 1 tsp dijon mustard
  • Salt and Pepper
  • 1 Tbsp dill, chopped
  • Toppings: radish, carrots, chives, olives, dill, and capers

Directions

    1. Bring eggs to a gentle boil for about 10 minutes then let them sit in the hot water for about another 5, covered. Cool them completely in an ice bath for 10 minutes.
    2. Peel eggs and slice them lengthwise in half.
    3. Remove yolks and place in a medium size bowl. Smash well with a fork.
    4. Add yogurt, mayonnaise and mustard  to the egg yolks and blend well. Add more or less depending on the consistency you prefer.
    5. Add chopped celery, salt, pepper, and dill to the egg yolks (we kept the eggs pretty simple. Feel free to add other ingredients like onions, pickles etc.)
    6. Fill the egg white halves with prepared yolk mixture using a small spoon or pastry bag.
    7. Decorate the eggs with eyes, nose, whiskers and a smile using  your choice of toppings.
    8. Eat and enjoy!

Baked Blueberry Lemon Glazed Doughnuts

Baked Blueberry Lemon Glazed Doughnuts

In honor of the cubs birthday this week, we made DOUGHNUTS!!!

She was thrilled to say the least and it was a new experience for Grandma DiDi. As much as she’s cooked in her day, she’s never made doughnuts.  We found the recipe on Flick of a WhiskDonuts

The cub started by greasing the doughnut pan.

Donuts2

Then she helped by mixing the dough ingredients.

Donuts3

Watching Grandma DiDi measure the ingredients. In goes the vanilla.

Donuts4

Eggs are so fun! Especially when Grandma DiDi cracks them super high and lets the egg slip out.

Donuts5

“Grandma, what’s that?” The cub gets her first lesson in zesting!
Donuts6

Time to add the flour. The cub was up for this task.

Donuts7

The dough become too thick so Grandma DiDi took over stirring.

Donuts8

Grandma DiDi shows the cub how to make a DIY pastry bag. The cub doesn’t know what to think…

Donuts9

Grandma DiDI cut just one corner of the ziplock bag.

Donuts10

And squeezes the dough into the doughnut baking sheet.  See Note*

Donuts11

They are ready for the oven!

Donuts12

While the doughnuts bake, the cub and Grandma DiDi make the icing. Of course, it’s lemon flavor! One of the cubs favorite flavors!

Donuts14

After the milk and powdered sugar were added, the cub enjoyed the leftover powdered sugar. Yum, yum, extra yum!

Donuts16

The doughnuts are ready and the cub dips them into the icing!

Donuts15

And quickly sneaks a bite! Cub approved and such a special treat for a special girl!

Donuts17

Happy Birthday, Cub!

Baked Blueberry Lemon Glazed Doughnuts

Recipe from Flick of the Whisk

Ingredients

For the doughnuts:
  • 1/4 cup unsalted butter, melted
  • 1/4 cup canola or vegetable oil
  • 3/4 cup granulated sugar
  • 2 large eggs
  • 2 tsp vanilla extract
  • 1 1/2 tsp grated lemon zest
  • 1 cup plain greek yogurt
  • 2 2/3 cups all-purpose flour
  • 1 1/2 tsp baking powder
  • 1/4 tsp baking soda
  • 1/2 tsp salt
  • 1 cup fresh blueberries
For the glaze:
  • 2 cups powdered icing sugar
  • 1-2 tsp lemon zest
  • 7-8 tbsp fresh lemon juice or milk(or little of each depending on taste)
  • Optional: sprinkles(Cubs favorite!)

Directions

Make the doughnuts:
    1. Preheat oven to 425 degrees F and grease your doughnut pans with butter or non-stick spray.
    2. In a large bowl, combine butter, oil and sugar and whisk until smooth and fluffy, about 2 minutes.
    3. Add in eggs, vanilla, lemon zest and yogurt and whisk until smooth.
    4. Add flour, baking powder, baking soda and salt, and stir until combined. Stir in blueberries. Batter will be thick.
    5. Spoon batter into a large disposable piping bag or freezer bag. Cut off the end of the bag so your opening is about ½-3/4” wide (big enough for the blueberries to get through). Pipe batter once around each doughnut hole – the batter shouldn’t quite fill the hole as they’ll expand and rise.
    6. Bake for 7-8 minutes until a toothpick inserted comes out clean. Let cool 10 minutes before removing from the doughnut pan to cool completely.
Make the glaze:
  1. In a shallow, medium bowl, combine sugar, zest, and 6 tbsp of juice or milk. Add an additional 1-2 tbsp of liquid if needed. You want your glaze to be thin enough to evenly coat your doughnuts, but thick enough that it will set and become dry to the tough.
  2. When doughnuts are completely cool, dip tops of doughnuts into the glaze and overturn so the glaze runs down the sides. Set aside for the glaze to set.

*Note: We purchased a mini doughnut pan and found that piping the dough into the little molds was difficult and that the blueberries were almost too big for the mini doughnuts. A larger doughnut baking sheet would work better.

Artichoke Hummus and Whole-Wheat Poppy Seed Crackers

Artichoke Hummus and Whole-Wheat Poppy Seed Crackers

Crackers and dip – pretty much the epitome of snack time. We try not to snack too much in our house in order for the cub to focus on eating meals. But when we do eat snacks, we try to make them wholesome and nutritious.

hummus3

The cub began by helping prep our ingredients. In this case – butter! Her knife skills are improving! Practice makes perfect.

hummus4

Colorful, large measuring cups make it easy for little toddler hands to hold. From the look on her face, you know she’s proud of herself. Mission accomplished.

hummus5

A bit more difficult of a task, but she executed perfectly. Measuring herbs and spices always has an additional step – stop and smell the aroma!  She was picking the spices this time by smelling curry and garam marsala.  She picked curry!

hummus7

In goes the agave syrup. “I can do it grandma,” explained the cub.

hummus8

The cub enjoys using her pink piggy spatula to stir all the  ingredients for the crackers. We needed to mix it until it became a ball of dough. The cub started and then grandma DiDi took over.

hummus9

After the dough is formed, roll the dough into a log, wrap in plastic wrap and place in the refrigerator. While the cracker dough chills, we started the hummus.

hummus13

Grandma DiDi heard that boiling your canned garbanzo beans first will help them blend into a creamier hummus. So after the beans boiled, the cub helped add them to our blender. Another fun task for her was watching the liquid separate from the beans.

hummus14

Measuring and smelling all the yummy ingredients into the blender. The cub dumped everything in and then stood back for the blending part. She doesn’t like how it makes such a loud noise.

hummus10

Cracker dough is ready. Slice into 1/8 inch rounds and place on a lined baking sheet.

Hummus12

After placing them on a prepared baking sheet, sprinkle the tops with poppy seeds. The cub took this task very seriously and kept asking us to look at her work. “Good job, honey!” Pop them in the oven and then it’s time to eat!

hummus15

As soon as the crackers cooled, the cub dove right in!

hummus16

So yummy!

Hummus17

Make some for your cub at home and feel confident you are feeding them whole ingredients, with no crazy additives you find in so many products these days. Dive in!

Artichoke Hummus and Whole-Wheat and Poppy Seed Crackers
(Cracker recipe adapted from Vegetarian Heartland )

Artichoke Hummus

Ingredients

  • 1 can garbanzo beans
  • 1 tbsp. tahini
  • 1/4 tsp cumin
  • 1/4 tsp salt
  • 1/2 lemon juiced –  or more to taste
  • 1/4 cup marinated artichoke hearts
  • 1 clove garlic or more to taste
  • 1/2 bay leaf
  • salt to taste
  • olive oil

Directions

  1. Heat garbanzo beans in juice with garlic and bay leaf at a simmer for 20 mins
  2. Remove bay leaf
  3. Strain beans and garlic into blender, reserving 1 Tbsp or more liquid for blender
  4. Add all other ingredients to blender and mix well until creamy
  5. To serve drizzle with good quality olive oil

Note: Store in air-tight container for up to a week in the fridge.

Whole-Wheat Pumpkin and Poppy Seed Crackers 

Ingredients

  • 1 cup whole-wheat flour
  • 1/2 tsp poppy seed, plus more for sprinkling
  • 1/2 tsp ground spice of choice – we chose curry but you can use spice of choice, even cinnamon
  • 1/2 tsp fine sea salt
  • 1 Tbsp agave
  • 4 Tbsp cold unsalted butter, cut into small cubes
  • 1/4 cup canned pumpkin puree

Directions

  1. Pre-heat oven to 350 degrees
  2. Measure all dry ingredients into bowl.  
  3. Work cubes of butter into dry ingredients with pastry cutter or fork until they are incorporated well into dry small particles
  4. Add pumpkin and mix well into ball
  5. Wrap in plastic wrap and form into log about 6 inches long.  Refrigerate for 1 hour
  6. Slice with sharp knife into 1/8 inch slices and place on a parchment covered baking sheet
  7. Sprinkle with more poppy seeds
  8. Bake 15 – 20 min until edges start to brown

Paleo Peppermint Brownies

Paleo Peppermint Brownies

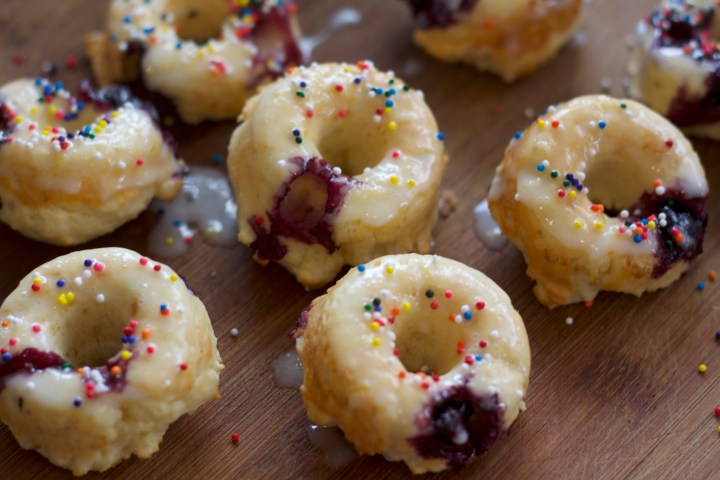
I have to be honest, I would not have thought to make a paleo style brownie a few months ago, but we have been exploring alternative ways to make sweets with healthier ingredients and I must say I’m completely blown away. These are just as good as regular brownies. Ooey gooey and delicious!

I also have a new obsession with Cheryl Malik’s blog 40 aprons. I found these delicious brownies on her site and knew the cub would love them!

brownie1

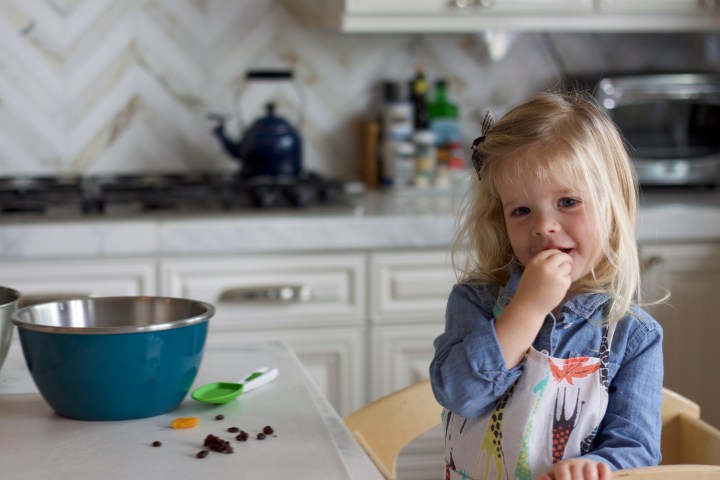
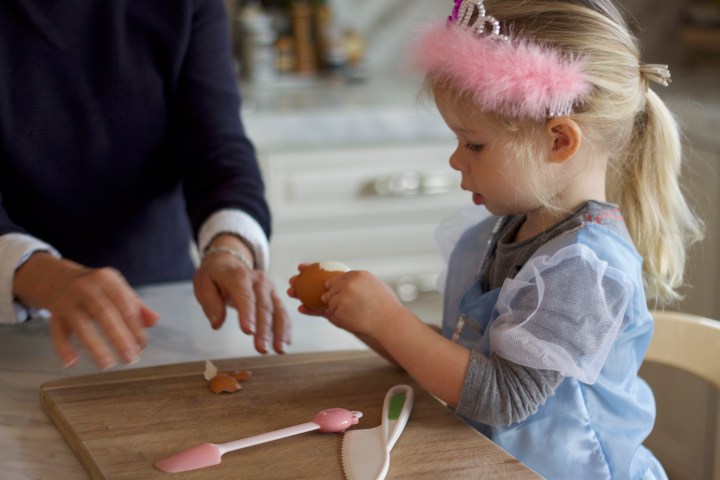
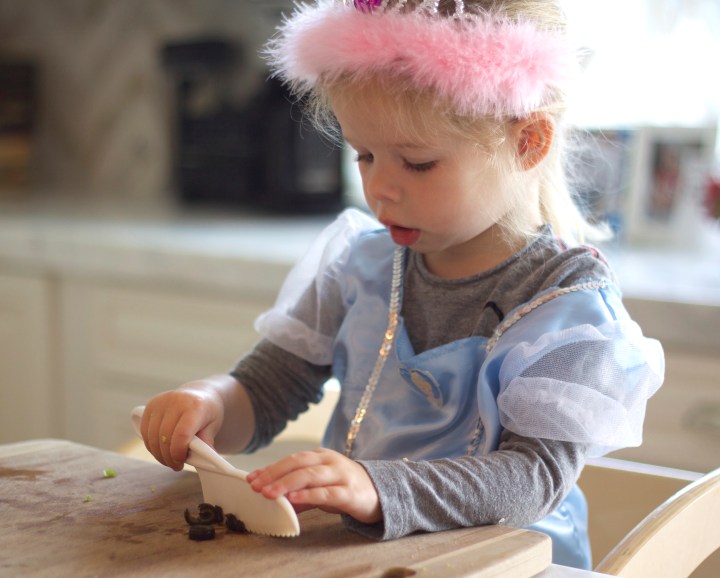
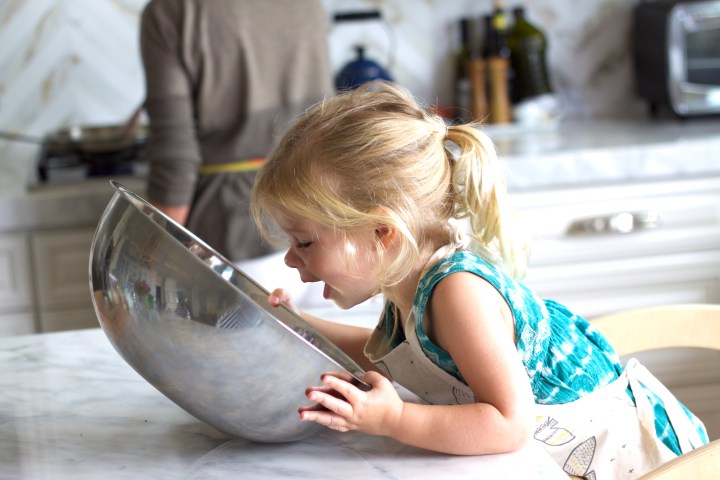
We started off our cooking session with a little snack – raisins! And an excuse for me to post a cute photo of the cub!

brownie2

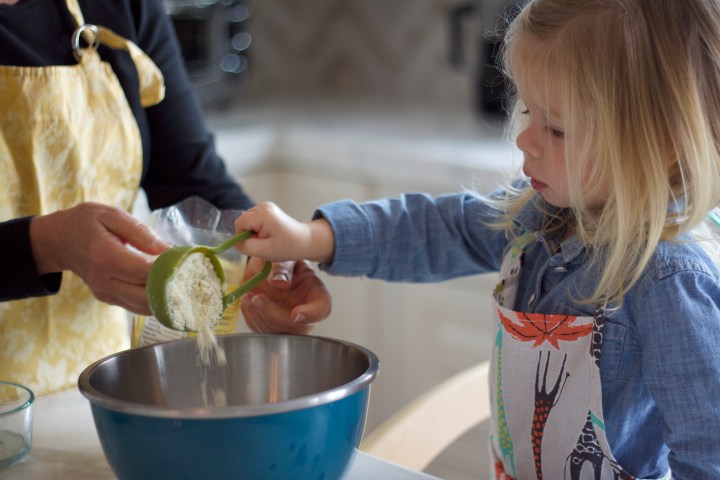
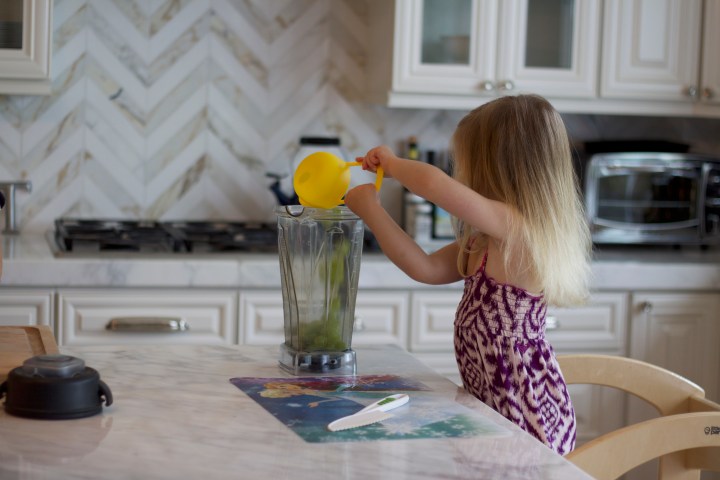
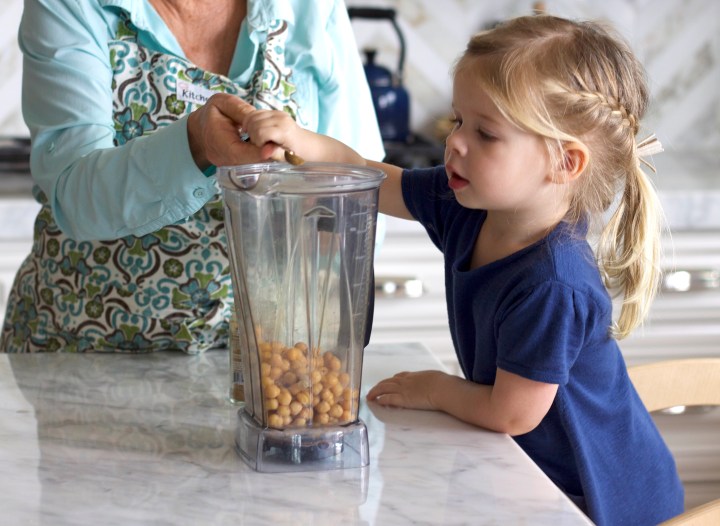
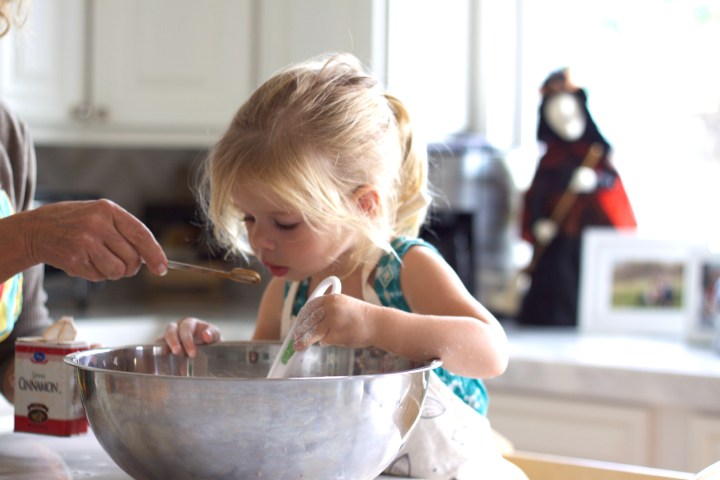
In goes the dry ingredients. The cub has mastered this skill!

brownie3

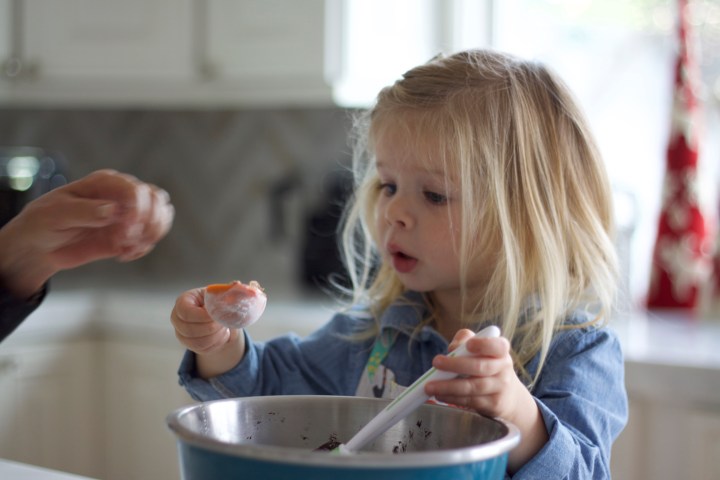
After all the dry ingredients have been added, the cub likes to take a moment and observe the texture, color and smell.

brownie4

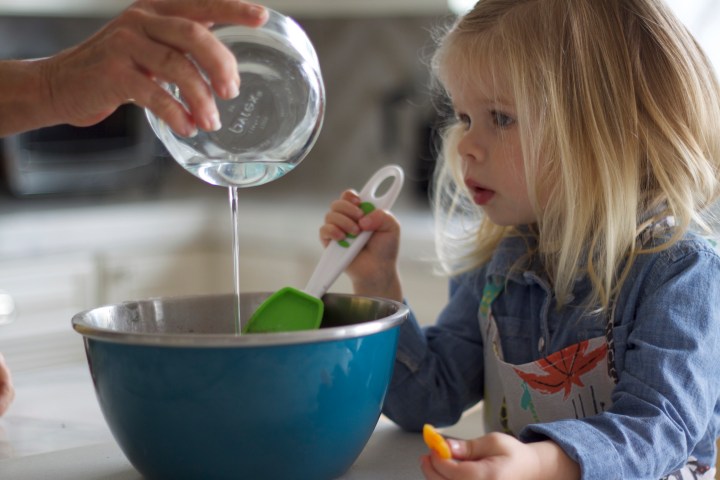
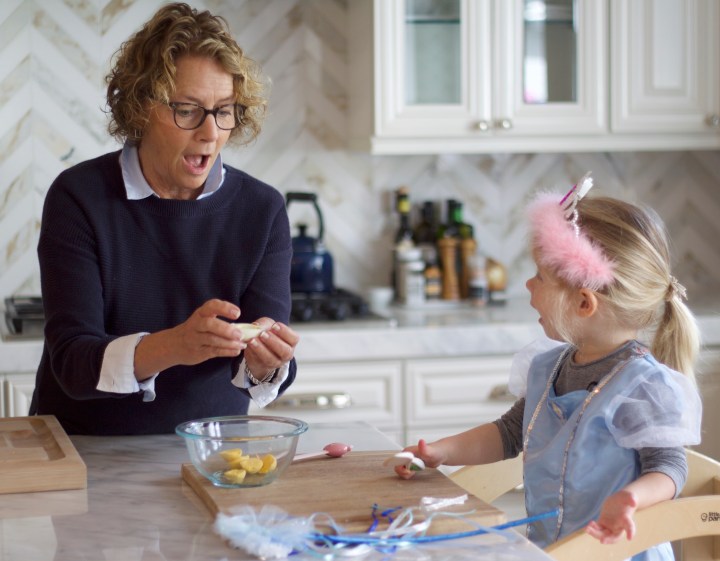
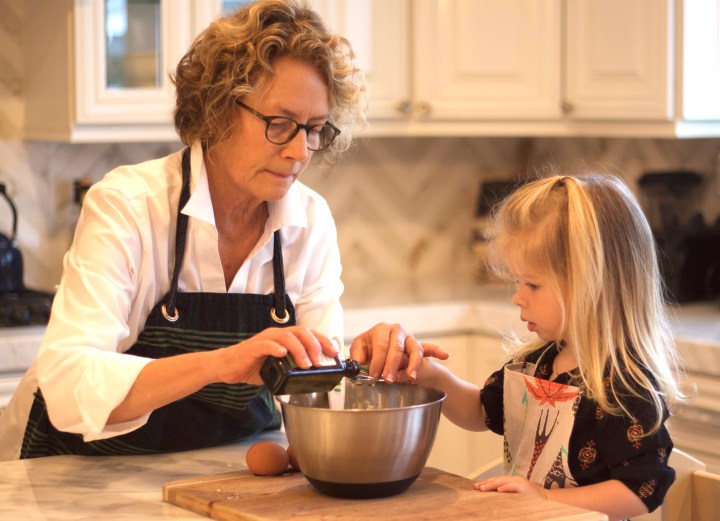
The cub observed how the coconut oil went from a solid, then a liquid after heating it. Fascinating!

brownie5

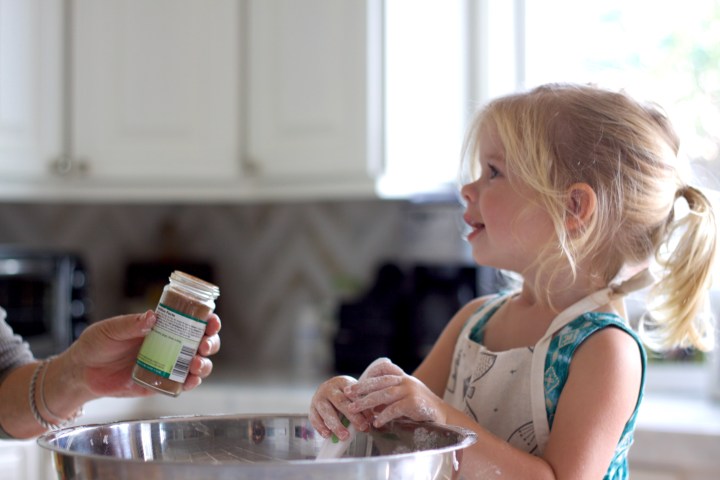
We always stop to smell our ingredients. Peppermint is a new smell for the cub and she approves.

brownie6

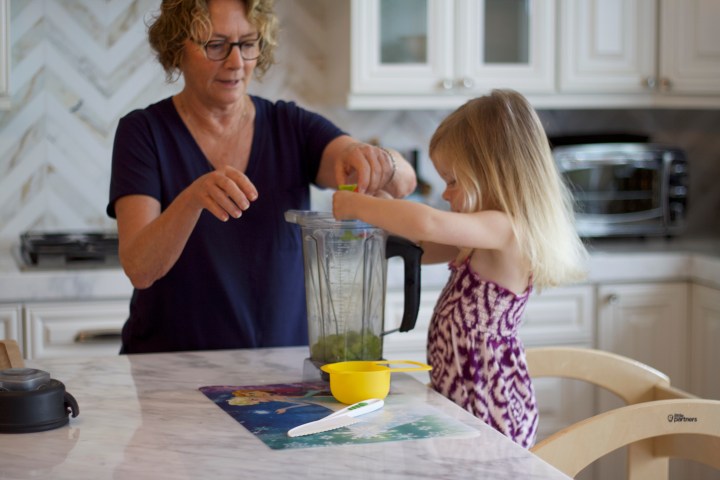
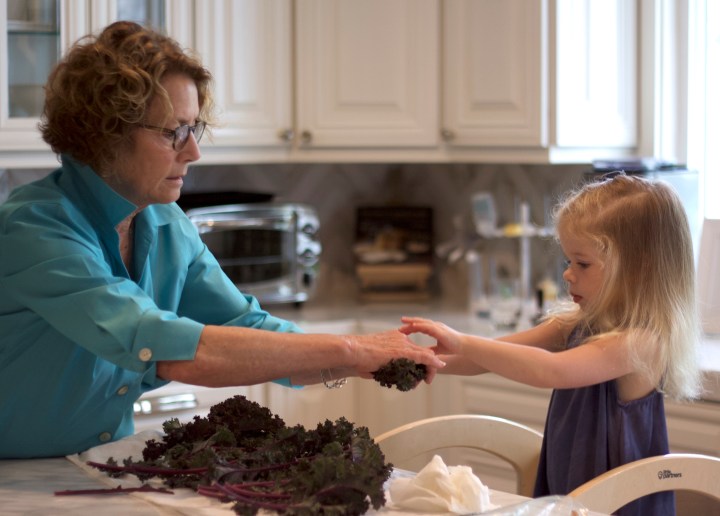
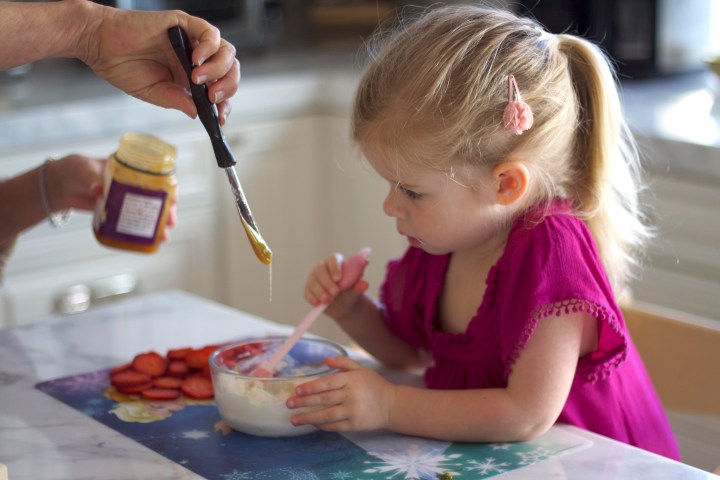
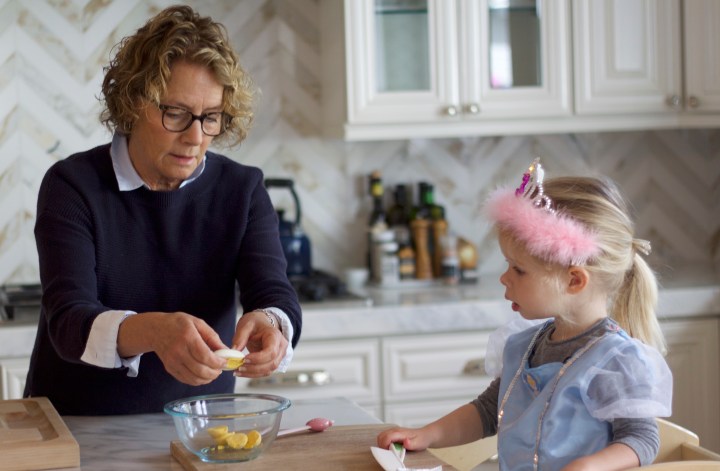
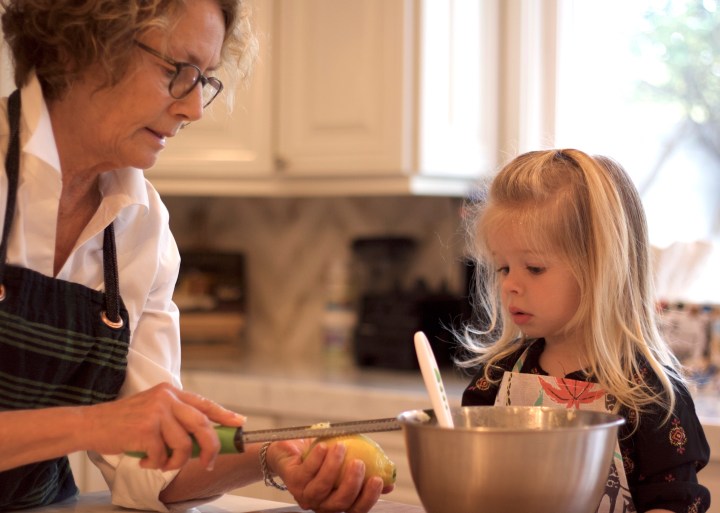
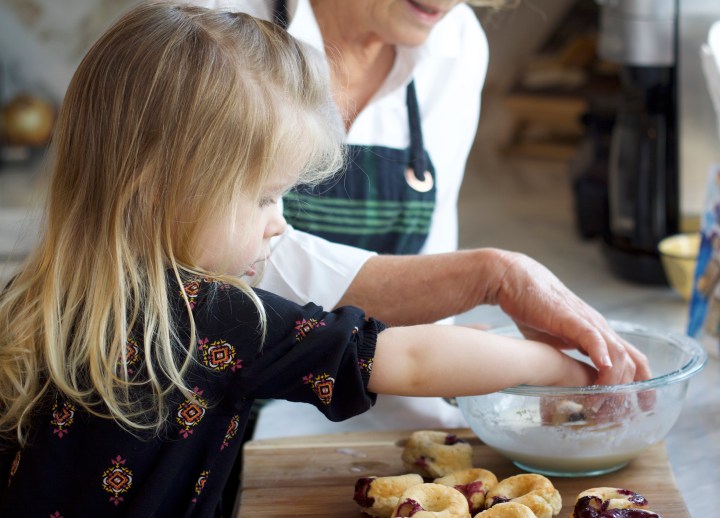
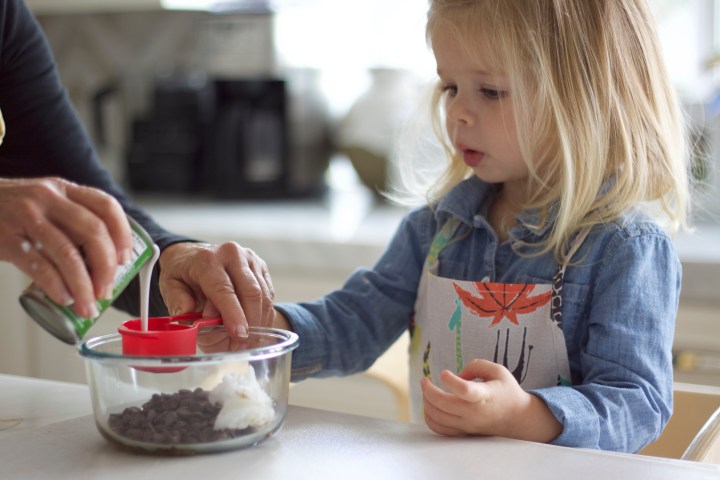
“It wont come out Grandma,” the cub explains! Grandma DiDi helps scoop out the almond butter from the measuring cup. “It’s thick, isn’t it,  explains Grandma DiDi?

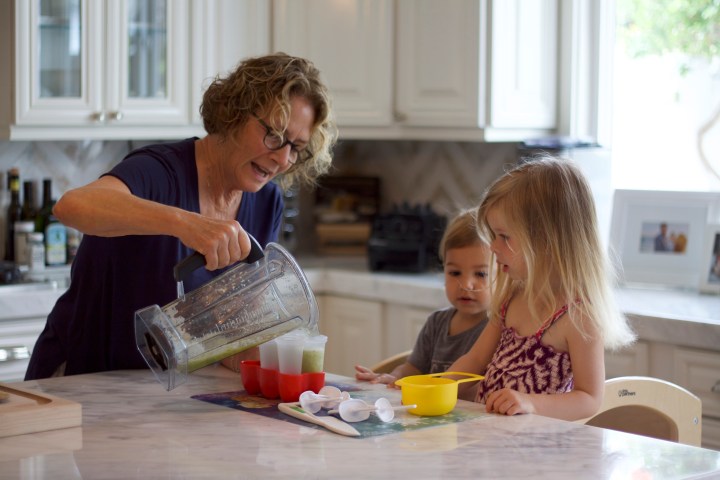
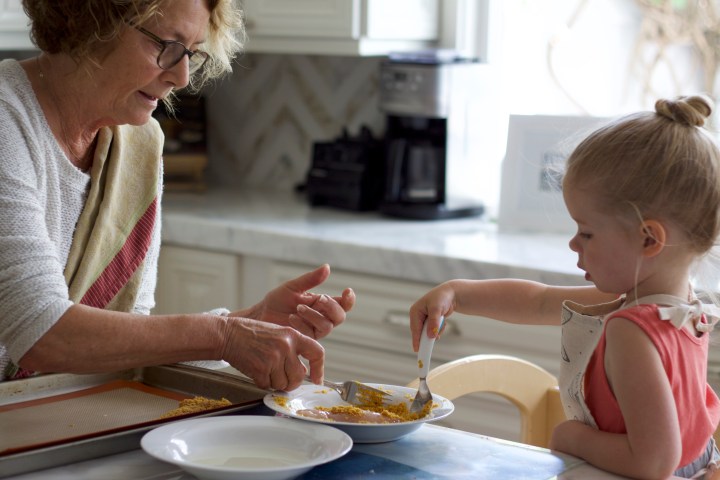
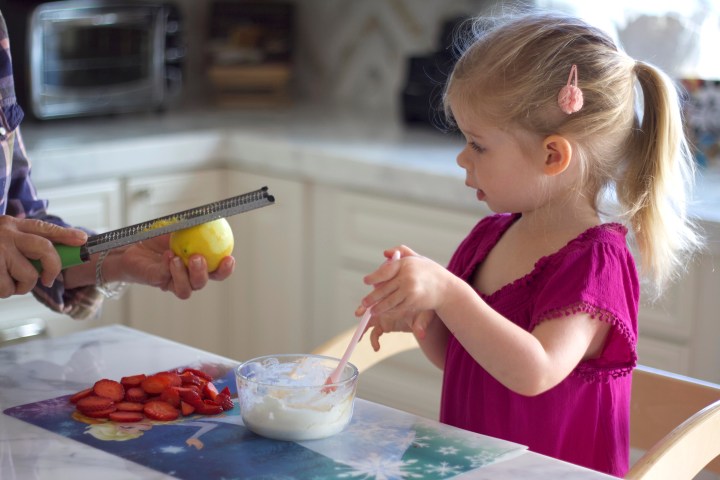
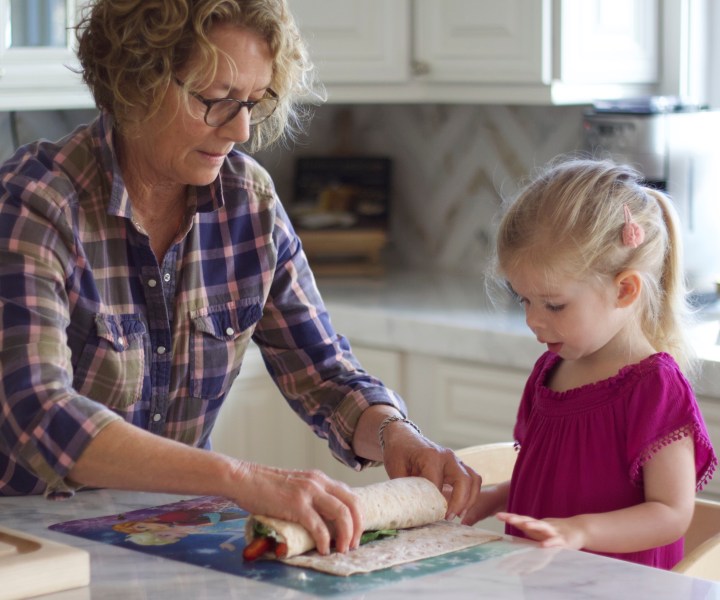
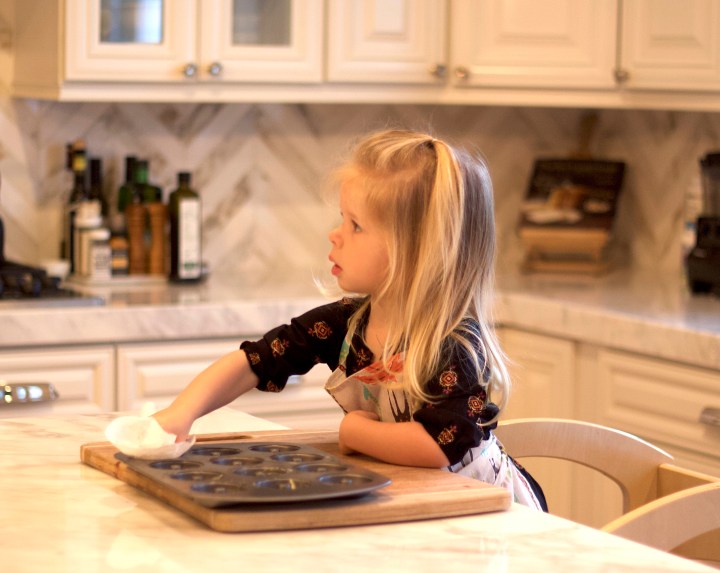
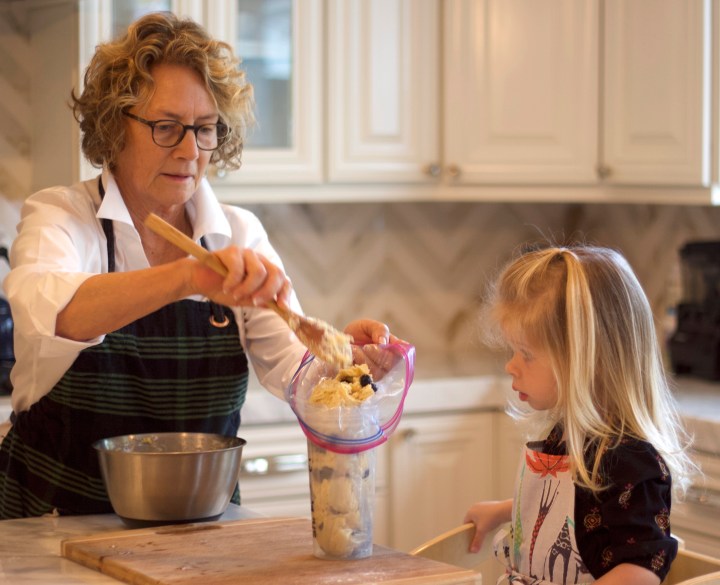
Grandma DiDi and the cub completed mixing all the dry and wet ingredients and now its time to pour it into our 8 x 8 baking dish.

brownie7

“Grandma, am I doing this right” the cub asks? Grandma DiDi encourages the cub and lets her know she’s doing a fantastic job.

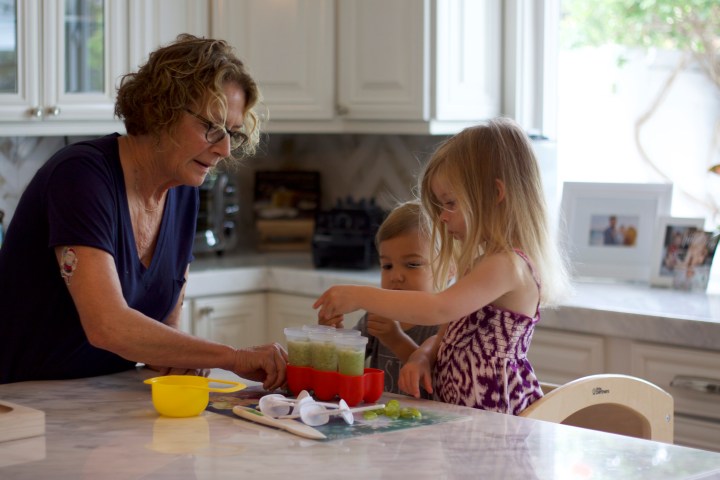
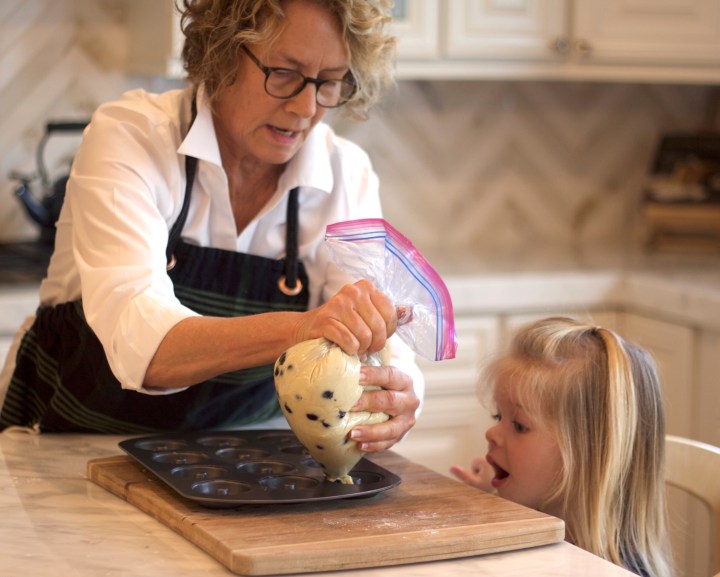
Grandma DiDi helps spread the mixture evenly in the pan and then it was time to put the brownies in the oven.

brownie8

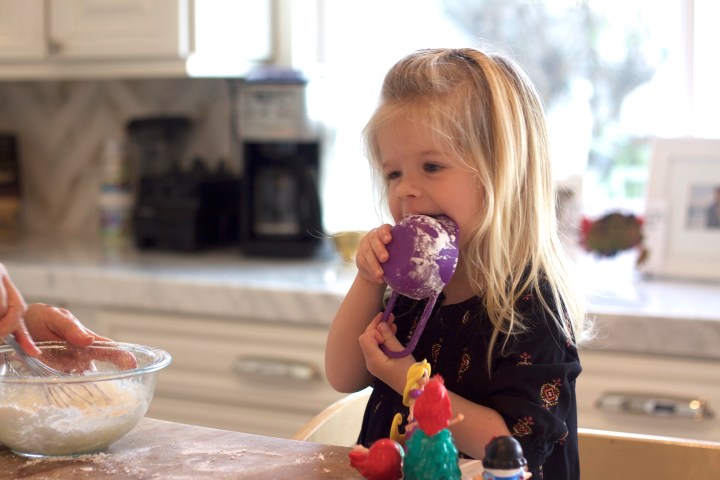
While the brownies bake, it’s time to make the frosting!  The cub may or may not have eaten a few.

brownie9

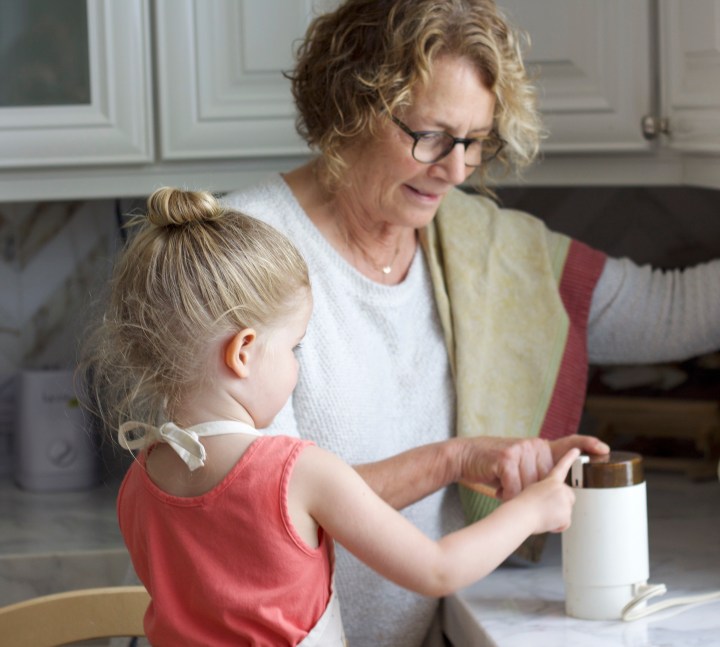
There is a first time for everything. This was the cubs first time using a can opener. With a little help, she did it!

brownie10

After they opened the can, Grandma DiDi added the coconut cream into the frosting ingredients and popped it into the microwave.

brownie12

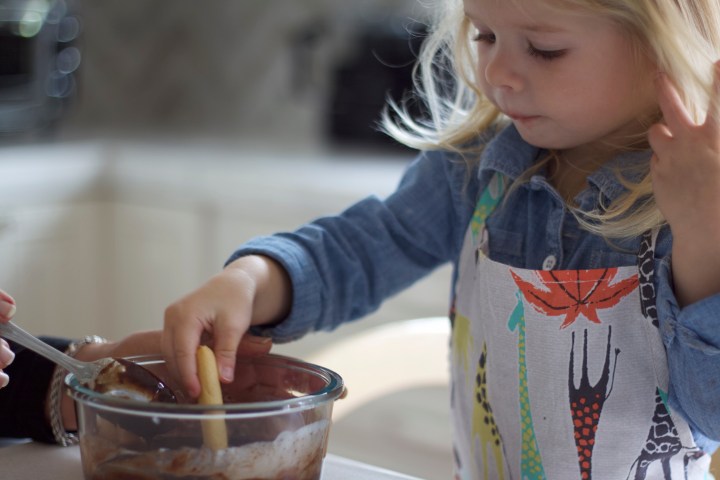
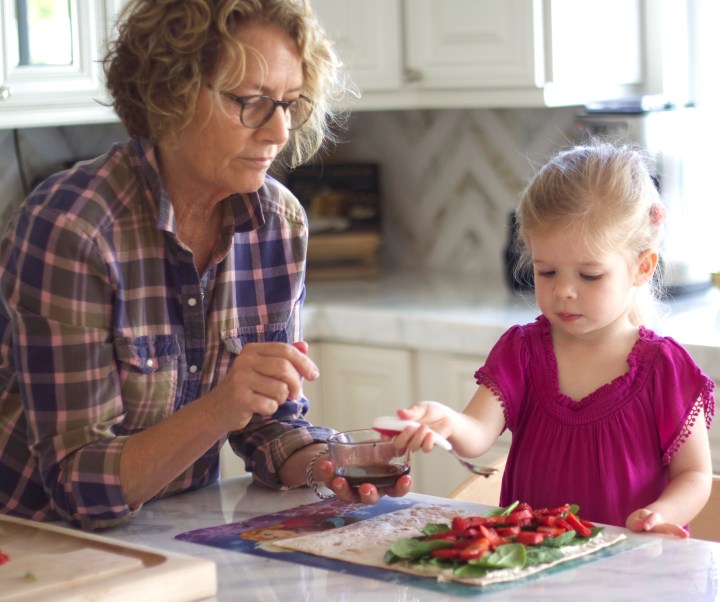
Once heated and stirred, the cub thought it would be nice to dip her bread stick in the frosting to make sure it was just right. “Delicious,” the cub yells!

brownie13

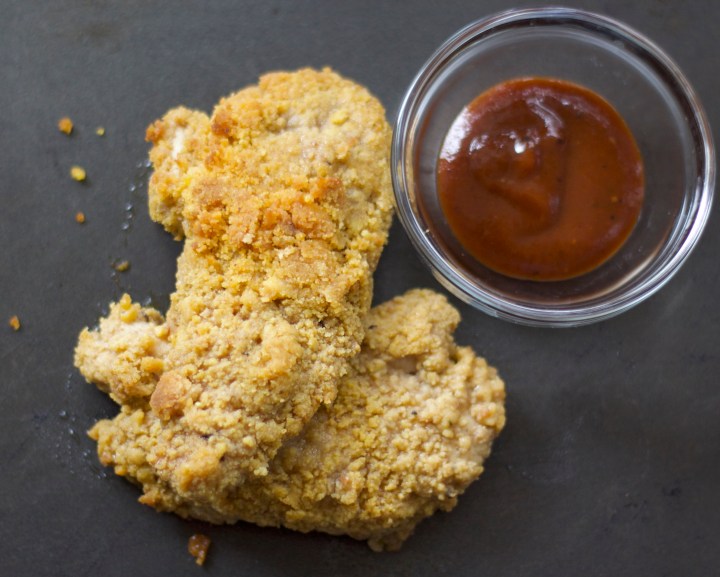
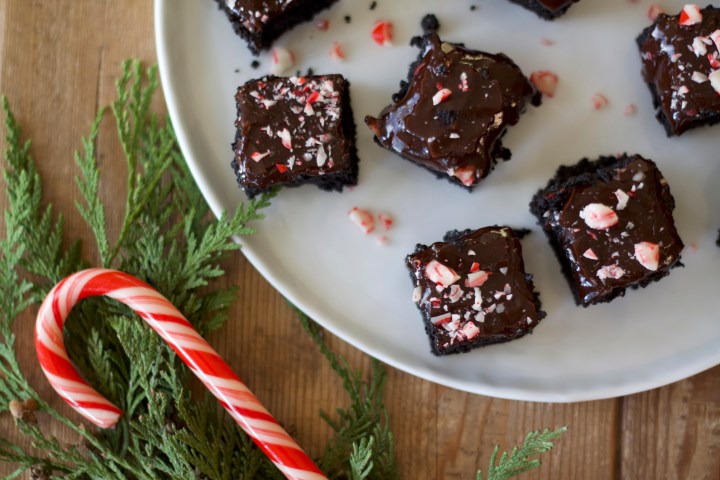
After the brownies have cooked, remove from the oven and let cool for 10 mins.  Pour over the frosting and add crushed candy cane! Almost time to eat. Let them cool completely before cutting into squares.

brownie14

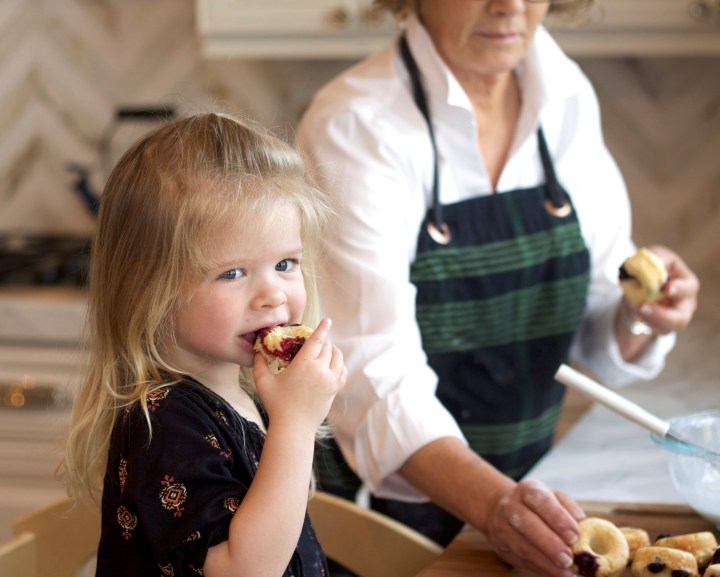
I brought these to a dinner party and everyone thought they were sooo good. As good as a regular brownie and have a rich and gooey texture.

Paleo Peppermint Brownies
(recipe adapted from www.40aprons.com)

Ingredients

Brownies

  • 2 eggs 
  • 2/3 cup blanched almond flour
  • 2 Tbsp. tapioca starch
  • 2/3 cup Cocoa Powder 
  • ½ tsp. baking powder
  • pinch salt
  • 1/3 cup coconut sugar
  • 1/3 cup Refined Coconut Oil melted
  • 1/2 cup Pure Maple Syrup
  • 3 Tbsp. almond butter
  • 1/2 tsp. peppermint extract
  • 1 tsp. vanilla extract
  • Spray Coconut Oil

Frosting

  • 3/4 cup + 2 Tbsp. dairy-free chocolate chips
  • 2 Tbsp. Refined Coconut Oil
  • 1 Tbsp. Pure Maple Syrup
  • 1/4 cup Coconut Cream
  • 1/4 tsp. peppermint extract
  • 1/2 tsp. Vanilla Extract
  • vegan peppermint candies or candy canes crushed, for topping

Directions

  1. Preheat oven to 325ºF.
  2. In the bowl of a food processor, combine almond flour, tapioca starch, cocoa powder, baking powder, pinch of salt, and coconut sugar. Pulse a couple times until well mixed. Add in 2 eggs, melted coconut oil, maple syrup, almond butter, peppermint extract, and vanilla extract. Process until smooth. Alternately, to mix by hand, combine dry ingredients in a medium bowl and whisk well, then add in egg, melted coconut oil, maple syrup, almond butter, and extracts, and stir until very smooth.
  3. Line an 8×8” baking pan with parchment paper and spray with coconut oil. Scrape brownie batter into prepared pan, push batter into edges, and smooth surface. Bake 25-30 minutes or until a toothpick inserted into the center comes out close to clean. Don’t overbake! You don’t want the toothpick to be perfectly clean, but it should not be coated in what looks like frosting.
  4. Make frosting: combine chocolate chips, coconut oil, maple syrup, and coconut cream in a medium microwavable bowl. Microwave 60 seconds then stir well. Continue microwaving in 30-second bursts, stirring very well between each burst, until chocolate is just melted. Stir in peppermint and vanilla extracts, then pour over still-warm brownies. Let cool slightly then top with crushed peppermint candies. Let cool completely before cutting. If frosting is not solidifying, chill for about an hour to harden. Cut into 16 square and keep in an airtight container about 4 days.

Brown Butter Pumpkin Cookies

Brown Butter Pumpkin Cookies

Hello pumpkin season and my favorite time of year! To get in the spirit of the season, we decided to make some delicious pumpkin cookies.

*Warning, these are full of all the delicious ingredients that make cookies so good. Nothing gluten-free, sugar-free, butter free about these bad boys. Because a real cookie should be enjoyed once and awhile! Cookie1

Cooking should always be fun. The cub quickly discovered her reflection in the mixing bowl. A silly conversation ensued.  In the background you can see Grandma DiDi browning the butter over the stove.

Cookie2

Grandma DiDi and the cub worked to add all the dry ingredients to the bowl. The cub helped stir while each one was added.

cookie9

Forget the spoon. Textures are fascinating to toddlers and they learn more by using their hands. The cub rubbed her hands in the flour, lifting it up and watching it fall through her fingers.

cookie3

In goes the cinnamon, but first, stop and smell it.

cookie4

Yum, that pumpkin pie spice smells delicious (and like my favorite season)!

cookie5

After deciding it was time to take her hair down, we were back to finishing the cookies. We mixed the wet ingredients and added raisins for flavor and texture.

cookie6

With curiosity, she watched Grandma Didi add all the wet ingredients to the dry ingredients.  We decided to also add a delicious new find from Trader Joe’s to this recipe.   Pumpkin spiced pumpkin seeds.

cookie7

Time to scoop them onto the cookie sheet. The cub enjoyed using the ice cream scooper to plop the dough on the cookie sheet.

cookie8

These smell as good as they look. The cub thoroughly enjoyed her treat and we were so thrilled to introduce her to a pumpkin cookies. Something we will be enjoying for years to come! Note – This recipe was adapted from sallysbakingaddiction.com


Brown Butter Pumpkin Cookies


Ingredients

  • 1 cup (2 sticks; 230g) unsalted butter
  • 2 cups (170g) old-fashioned whole rolled oats
  • 1 and 2/3 (208g) cup whole wheat flour (spoon & leveled)
  • 1 teaspoon baking soda
  • 1/2 teaspoon salt
  • 1 and 1/2 teaspoons ground cinnamon
  • 1 and 1/2 teaspoons pumpkin pie spice1
  • 3/4 cup (200g) granulated sugar
  • 1/2 cup (150g) packed light or dark brown sugar
  • 1 egg yolk, at room temperature
  • 2 teaspoons pure vanilla extract
  • 1 cup (228g) pumpkin puree ( not pumpkin pie filling and not the whole can) see note at bottom
  • Optional:   golden raisins and pumpkin spiced pumpkin seeds(or plain)

Directions

Preheat the oven to 350 degrees.
  1. Brown the butter: Slice the butter up into pieces and place in a light-colored skillet. (Light colored helps you determine when the butter begins browning.) Melt the butter over medium heat, stirring occasionally. Once melted, the butter will begin to foam. Keep stirring occasionally. After 5-8 minutes, the butter will begin browning– you’ll notice lightly browned specks begin to form at the bottom of the pan and it will have a nutty aroma.  Once browned, remove from heat immediately and allow to cool for 5 minutes.
  2. Meanwhile, whisk the oats, flour, baking soda, salt, cinnamon, and pumpkin pie spice together in a medium bowl.
  3. Pour the slightly cooled brown butter into a large bowl. Whisk in the granulated sugar and brown sugar until combined. Whisk in the egg yolk and vanilla extract until combined, then whisk in the blotted pumpkin (see note about blotting). Slowly mix the dry ingredients into the wet ingredients until combined. The cookie dough will be thick and sticky.
  4. Add optional ingredients at this time if you choose.
  5. Using a medium cookie scoop, scoop cookie dough into balls (about 2 heaping Tbsp of dough each) and place 3 inches apart on the cookie sheet. Slightly flatten the balls out as the cookies won’t spread much unless you help out first!
  6. Top with more pumpkin seeds
  7. Bake for 14-15 minutes or until lightly browned and set on the edges.    Cool and store in airtight container in refrigerator or freeze.

NOTE:   For chewier cookies blot the pumpkin in a paper towel lined strainer or bowl and let it sit for 1/2 hour or squeeze it so it becomes drier.