Pear Chips

Pear Chips

In ancient China, people believed that pears represented immortality and prosperity because pear trees live for a long time. We couldn’t think of a better post to start off 2018 than a recipe symbolizing prosperity in the new year.

Pear1

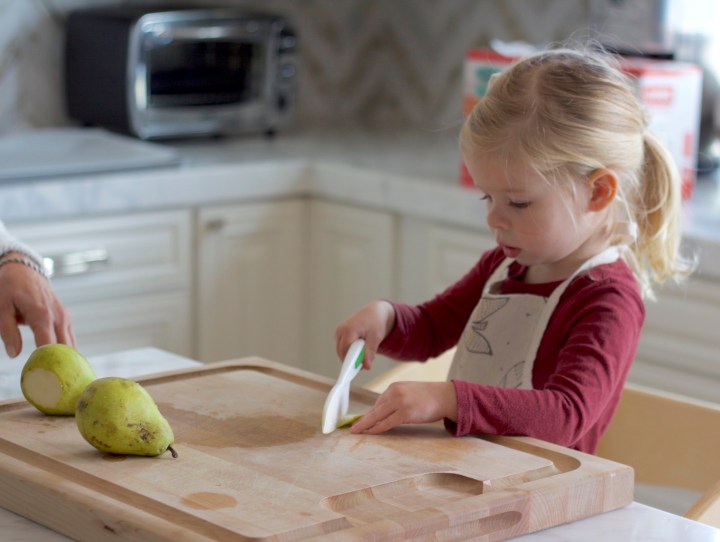
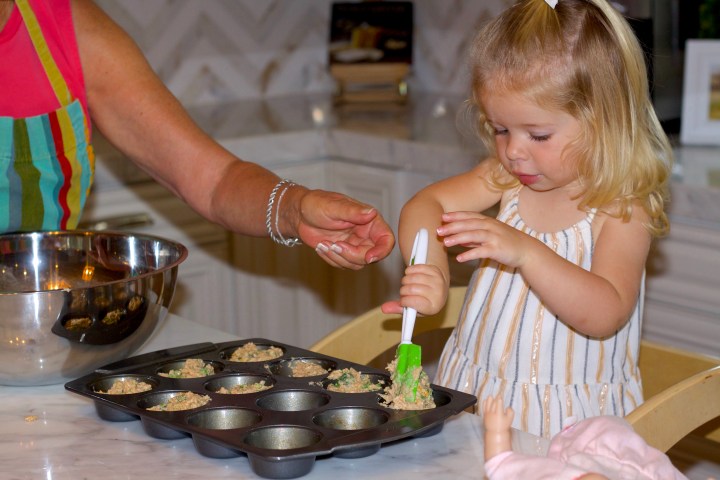
The cub started off by cutting up the pear. Her slices weren’t exactly perfect, but she was able to practice her cutting skills and she felt engaged in the process.

Pear2

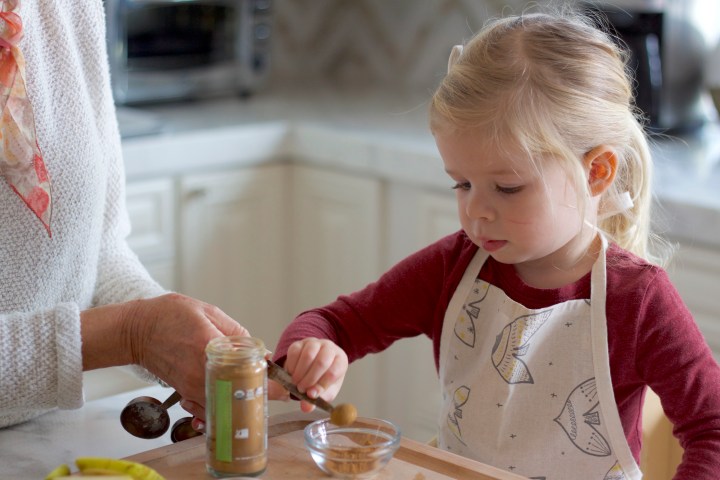
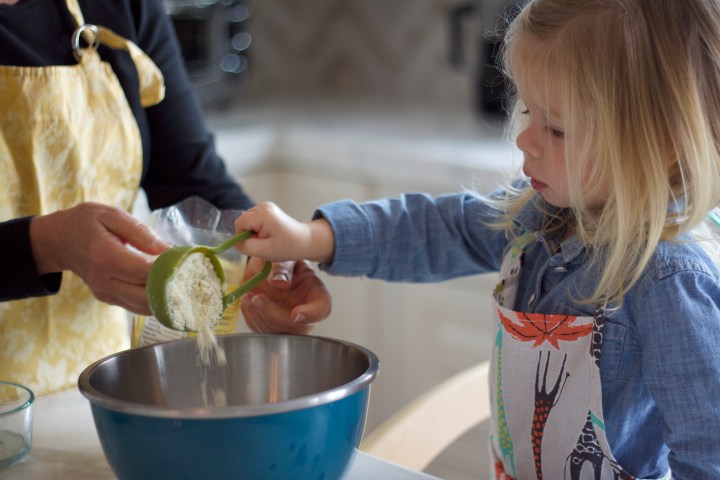
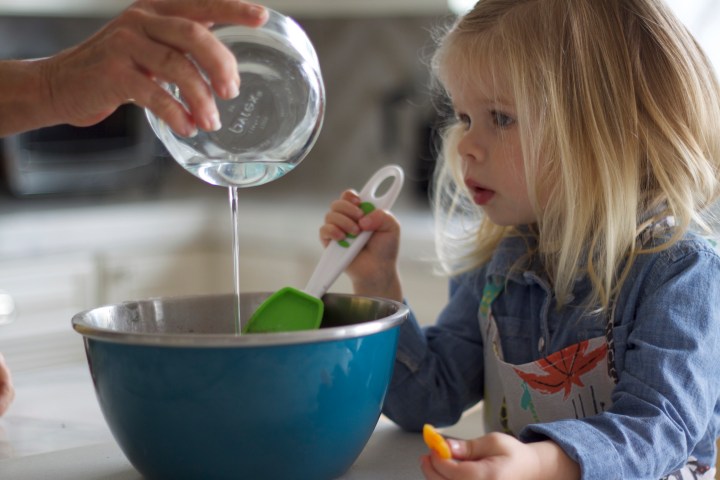
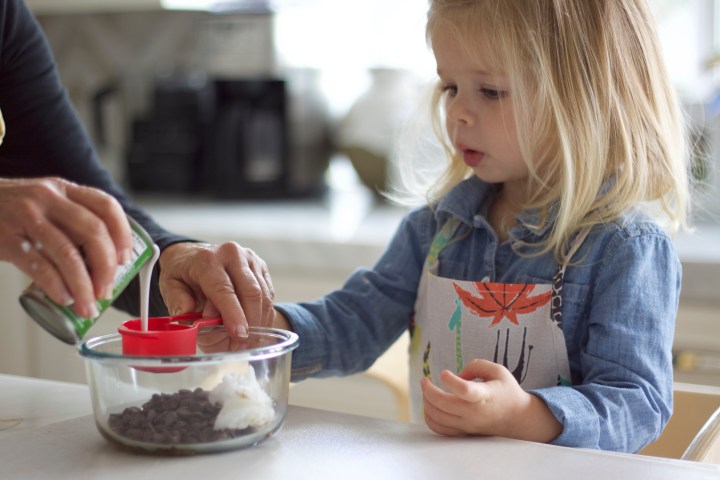
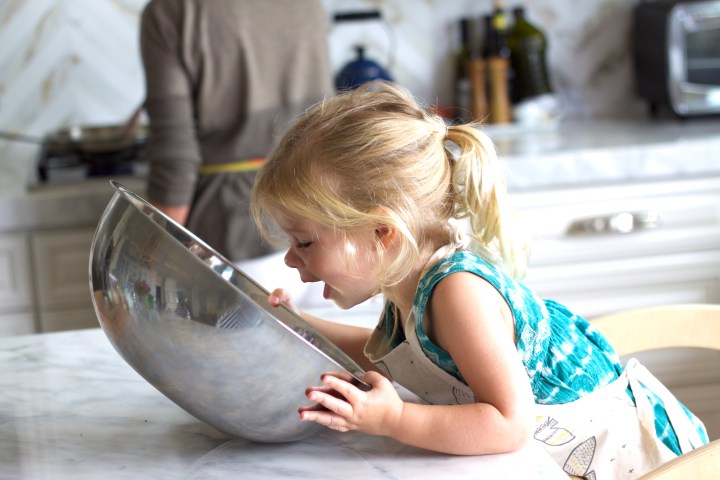
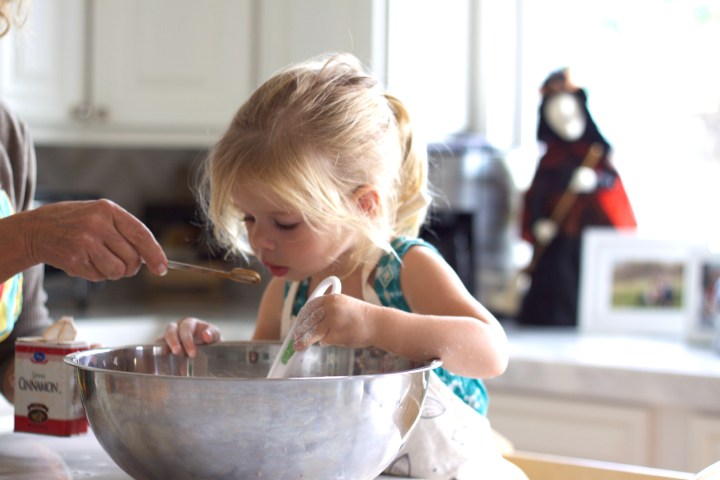
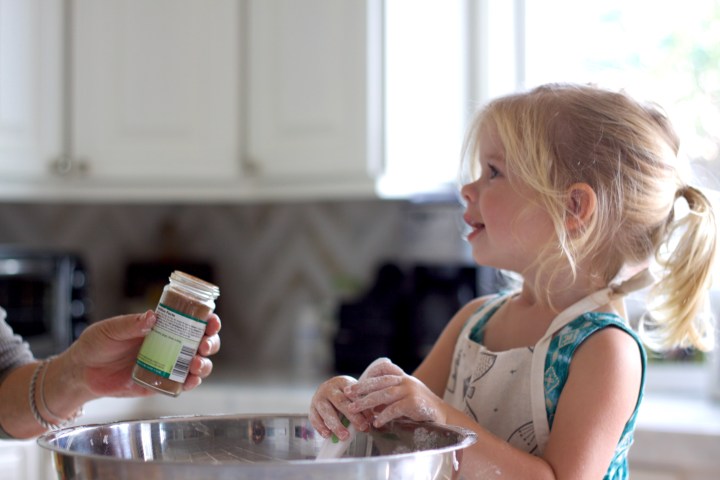
Next up is her favorite part, measuring and smelling the spices! This girl loves flavor on her food.

Pear3

And we always stop to smell them.

Pear5

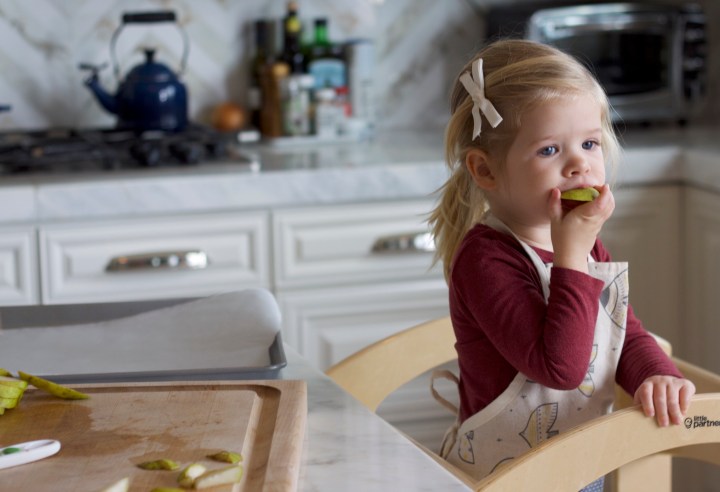
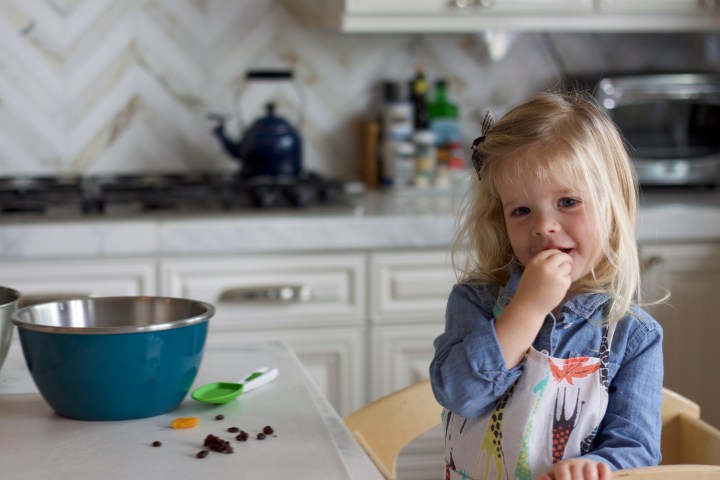
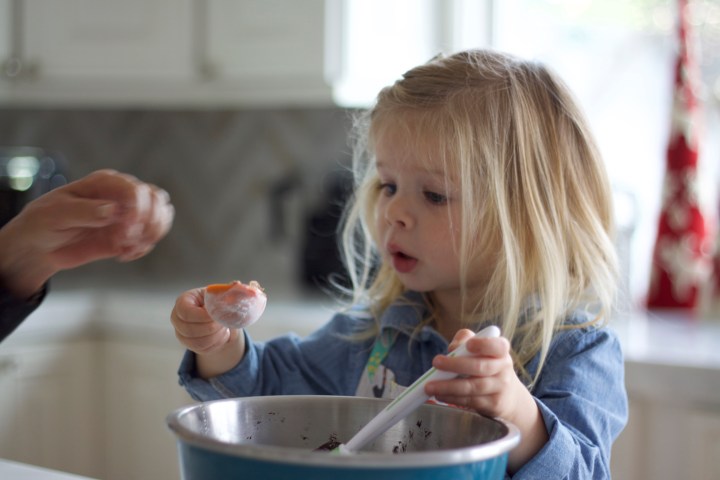
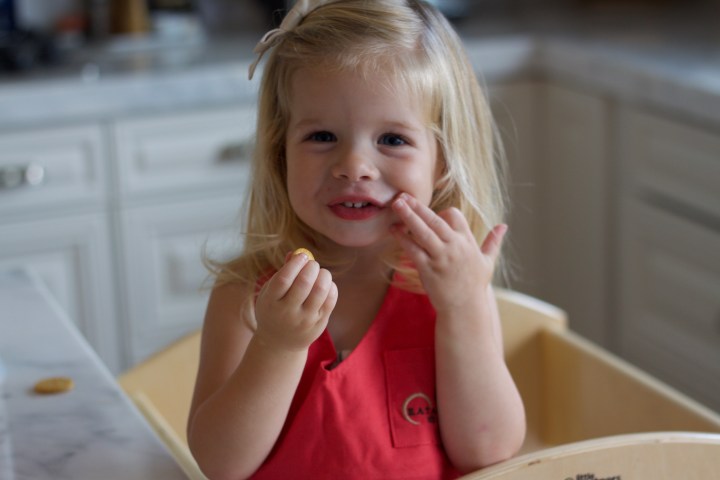
And snack on our ingredients…

Pear6

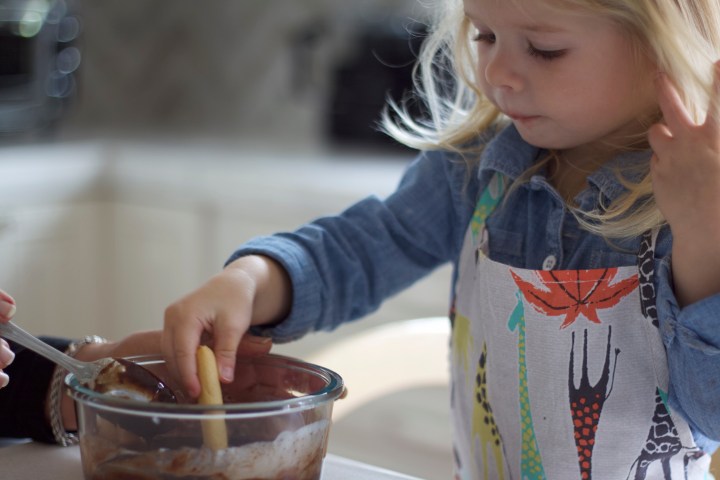
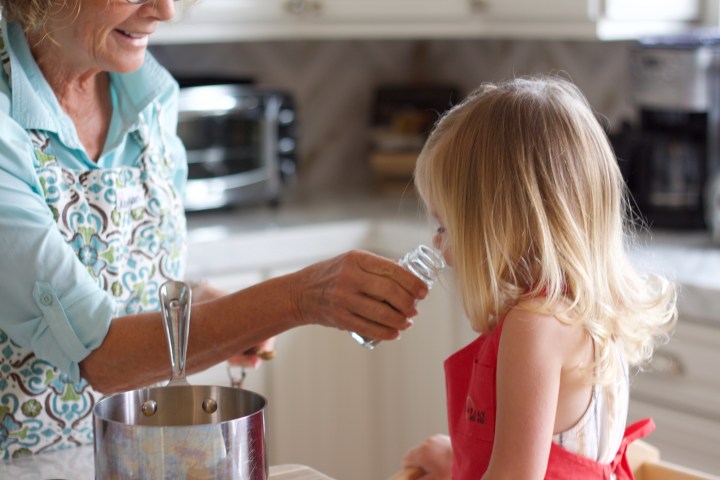
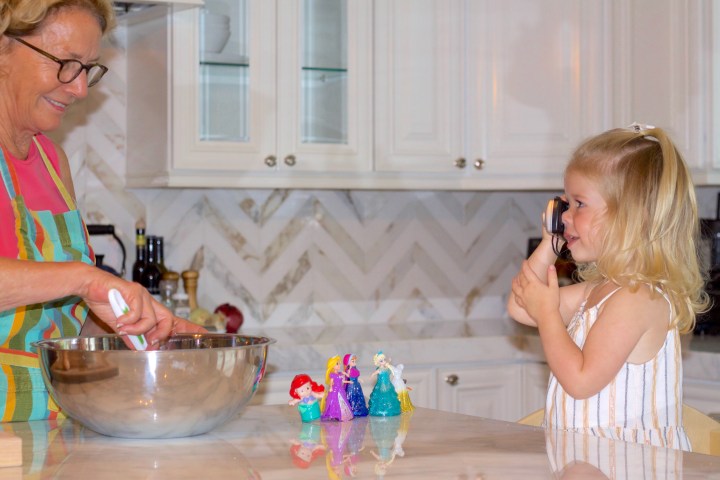
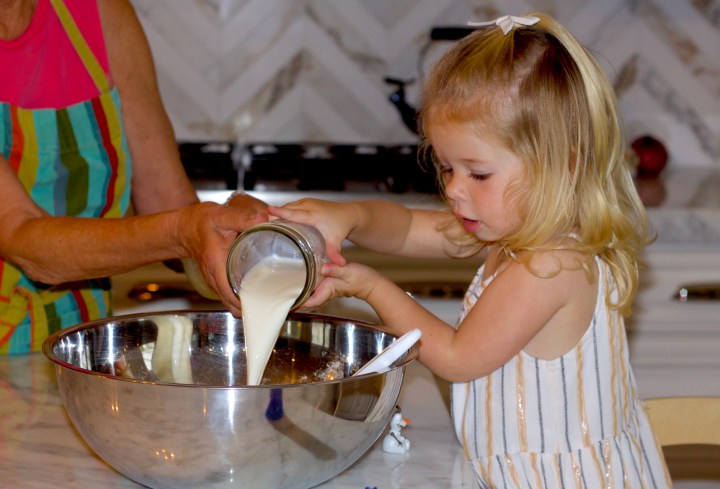
This particular day was special because we had G-ma in town for the holidays. The cub enjoyed showing G-ma how she brushed the maple syrup on each pear slice. Some may have had a bit too much maple syrup. 🙂

Pear8

Quick break to taste the maple syrup. Finger-licking good.

Pear9

That wasn’t enough so she decided to lick the brush. *No double dipping occurred in the process.

Pear10

After the pears had been brushed with maple syrup, we sprinkled the spices over the pears. This is the cubs best “salt bae” impression. I’m pretty sure that this could also become an internet sensation for this “spice bae” signature move.

Pear11

Dusting complete. Some more than others, but that’s ok. Embrace the imperfections of cooking with a little one.

Pear12
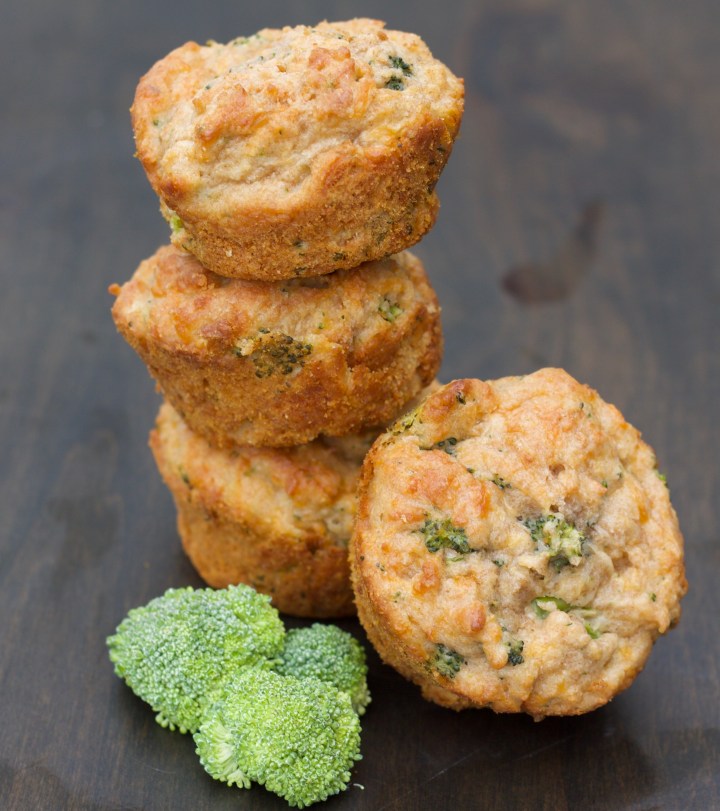
Slow baked to perfection. Delicious, wholesome, flavorful and prosperous! The cub wishes you a happy new year filled with endless possibilities in the kitchen.


Pear Chips
(recipe adapted from Vegetarian Heartland)

Ingredients

  • 3 ripe, firm Bartlett pears, unpeeled and thinly sliced
  • 1 Tbsp. maple syrup
  • 3 different toppings can be used – see note
    • 1/2 tsp. garam masala
    • 1/2 tsp. cinnamon with or without pinch of cayenne
    • 1/2 tsp allspice and 1/4 tsp. black pepper

Directions

  1. Preheat oven to 225ºF.
  2. Line two baking sheets with parchment paper.
  3. Thinly slice pears.
  4. Prepare the chosen dry spice ingredients.
  5. Arrange pear slices in a single layer on the baking sheets lined with parchment paper. Brush with maple syrup on both sides and sprinkle with spice mixture.
  6. Bake, flipping once halfway through the baking time until all moisture is removed and they are brittle and not spongy – about 3 hours.
  7. Remove from the oven and let cool. They should be the consistency of a chip when cooled.
  8. Store in resealable bag at room temperature for up to 3 months.

Note: We used the cinnamon without the cayenne for the cub but the other mixes are delicious for more adult/sophisticated taste or your adventuresome cub).

Paleo Peppermint Brownies

Paleo Peppermint Brownies

I have to be honest, I would not have thought to make a paleo style brownie a few months ago, but we have been exploring alternative ways to make sweets with healthier ingredients and I must say I’m completely blown away. These are just as good as regular brownies. Ooey gooey and delicious!

I also have a new obsession with Cheryl Malik’s blog 40 aprons. I found these delicious brownies on her site and knew the cub would love them!

brownie1

We started off our cooking session with a little snack – raisins! And an excuse for me to post a cute photo of the cub!

brownie2

In goes the dry ingredients. The cub has mastered this skill!

brownie3

After all the dry ingredients have been added, the cub likes to take a moment and observe the texture, color and smell.

brownie4

The cub observed how the coconut oil went from a solid, then a liquid after heating it. Fascinating!

brownie5

We always stop to smell our ingredients. Peppermint is a new smell for the cub and she approves.

brownie6

“It wont come out Grandma,” the cub explains! Grandma DiDi helps scoop out the almond butter from the measuring cup. “It’s thick, isn’t it,  explains Grandma DiDi?

Grandma DiDi and the cub completed mixing all the dry and wet ingredients and now its time to pour it into our 8 x 8 baking dish.

brownie7

“Grandma, am I doing this right” the cub asks? Grandma DiDi encourages the cub and lets her know she’s doing a fantastic job.

Grandma DiDi helps spread the mixture evenly in the pan and then it was time to put the brownies in the oven.

brownie8

While the brownies bake, it’s time to make the frosting!  The cub may or may not have eaten a few.

brownie9

There is a first time for everything. This was the cubs first time using a can opener. With a little help, she did it!

brownie10

After they opened the can, Grandma DiDi added the coconut cream into the frosting ingredients and popped it into the microwave.

brownie12

Once heated and stirred, the cub thought it would be nice to dip her bread stick in the frosting to make sure it was just right. “Delicious,” the cub yells!

brownie13

After the brownies have cooked, remove from the oven and let cool for 10 mins.  Pour over the frosting and add crushed candy cane! Almost time to eat. Let them cool completely before cutting into squares.

brownie14

I brought these to a dinner party and everyone thought they were sooo good. As good as a regular brownie and have a rich and gooey texture.

Paleo Peppermint Brownies
(recipe adapted from www.40aprons.com)

Ingredients

Brownies

  • 2 eggs 
  • 2/3 cup blanched almond flour
  • 2 Tbsp. tapioca starch
  • 2/3 cup Cocoa Powder 
  • ½ tsp. baking powder
  • pinch salt
  • 1/3 cup coconut sugar
  • 1/3 cup Refined Coconut Oil melted
  • 1/2 cup Pure Maple Syrup
  • 3 Tbsp. almond butter
  • 1/2 tsp. peppermint extract
  • 1 tsp. vanilla extract
  • Spray Coconut Oil

Frosting

  • 3/4 cup + 2 Tbsp. dairy-free chocolate chips
  • 2 Tbsp. Refined Coconut Oil
  • 1 Tbsp. Pure Maple Syrup
  • 1/4 cup Coconut Cream
  • 1/4 tsp. peppermint extract
  • 1/2 tsp. Vanilla Extract
  • vegan peppermint candies or candy canes crushed, for topping

Directions

  1. Preheat oven to 325ºF.
  2. In the bowl of a food processor, combine almond flour, tapioca starch, cocoa powder, baking powder, pinch of salt, and coconut sugar. Pulse a couple times until well mixed. Add in 2 eggs, melted coconut oil, maple syrup, almond butter, peppermint extract, and vanilla extract. Process until smooth. Alternately, to mix by hand, combine dry ingredients in a medium bowl and whisk well, then add in egg, melted coconut oil, maple syrup, almond butter, and extracts, and stir until very smooth.
  3. Line an 8×8” baking pan with parchment paper and spray with coconut oil. Scrape brownie batter into prepared pan, push batter into edges, and smooth surface. Bake 25-30 minutes or until a toothpick inserted into the center comes out close to clean. Don’t overbake! You don’t want the toothpick to be perfectly clean, but it should not be coated in what looks like frosting.
  4. Make frosting: combine chocolate chips, coconut oil, maple syrup, and coconut cream in a medium microwavable bowl. Microwave 60 seconds then stir well. Continue microwaving in 30-second bursts, stirring very well between each burst, until chocolate is just melted. Stir in peppermint and vanilla extracts, then pour over still-warm brownies. Let cool slightly then top with crushed peppermint candies. Let cool completely before cutting. If frosting is not solidifying, chill for about an hour to harden. Cut into 16 square and keep in an airtight container about 4 days.

Apple Granola Bars

Apple Granola Bars

Kids are always looking for a sweet treat, so what better way to fill that craving then with one of these yummy apple bars. Low in sugar and high in nutrients! The cub thinks they are pretty great!

Apple 1

But first, a cracker! Grandma DiDi recently took a trip to Boston to walk the Boston Marathon Jimmy Fund Walk that raises money for the Dana Farber center and their fight against cancer. While enjoying the city, she stopped in to the famous Eataly and couldn’t resist this cute apron for the cub. Thanks, Grandma DiDi.

Apple 2

The cub helped by chopping up the apples for the apple sauce.

Apple 3

Grandma DiDi showed the cub all the spices that needed to be added to the apple mixture. In went the apples, too.

Apple 4

As always, we must stop and smell the ingredients. It’s part of what makes a great cook!

Apple 5

Stir it up! Then, Grandma DiDi moved it to the stove to heat until the apples become mushy and soft.

Apple 7

While the apple mixture heats on the stove, the cub works on the crust. To be honest, we didn’t add enough sugar to the first recipe and it was lacking in flavor, so we upped it and now it’s delicious. Nothing wrong with a little trial and error until your recipes are just right!

The cub added all the dry ingredients, plus jarred  apple sauce to form the crust. Once it forms, we transferred it to the baking dish.

Apple 8

We used parchment paper under the crust to make clean up and serving easier. Grandma DiDi shows the cub how to press the crust into the bottom of the pan in a nice even layer.

Apple 9

Over on the stove, Grandma DiDi mashed up the apple mixture and poured it over the crust. Spread it thin and it’s time to add the granola.

Apple 11

We used Purely Elizabeth Granola, maple flavor, but you can use any granola you wish.

Apple 12

After it baked for 20-25 mins, we allowed it to cool, then pulled it out of the pan with ease thanks to the parchment paper.

Apple 13

Slice into squares and Voila! Easy and healthy and perfect for a grab and go breakfast or snack.


Apple Granola Bars

Ingredients

  • 4 Gala apples
  • 1 tsp cinnamon
  • 1 tsp of cardamom
  • 1 tbsp lemon
  • 1/2 cup jarred unsweetened apple sauce.
  • 1 c. almond flour
  • 1/2 gluten-free flour + 2 tbsp
  • 3 tbsp coconut sugar
  • 1 c. Purely Elizabeth Granola (We used maple walnut flavor)

Directions

  1. Pre heat the oven to 325 degrees and line the 8 X 8 pan with parchment paper so the bars can be easily lifted out of pan to make it a breeze to cut.
  2. Make the applesauce by washing, peeling and cutting up the apples and placing them into a saucepan.  Add the cinnamon and 1/2 tsp. cardamom and cook over low heat until soft and mash with a potato masher.  Add the lemon juice and let cool.
  3. Make the crumb crust. Mix Almond, gluten-free flour, salt, 1/2 tsp. cardamom and sugar into a bowl and mix well with 1/2 cup of jarred applesauce.
  4.  Once mixture becomes more like a dough, press into bottom of 8 X 8 pan.
  5. Pour apple mixture from pan over the crust.
  6. Sprinkle the granola over the top and cook for approximately 20 – 25 minutes.

Cool and cut into squares. Enjoy

Brown Butter Pumpkin Cookies

Brown Butter Pumpkin Cookies

Hello pumpkin season and my favorite time of year! To get in the spirit of the season, we decided to make some delicious pumpkin cookies.

*Warning, these are full of all the delicious ingredients that make cookies so good. Nothing gluten-free, sugar-free, butter free about these bad boys. Because a real cookie should be enjoyed once and awhile! Cookie1

Cooking should always be fun. The cub quickly discovered her reflection in the mixing bowl. A silly conversation ensued.  In the background you can see Grandma DiDi browning the butter over the stove.

Cookie2

Grandma DiDi and the cub worked to add all the dry ingredients to the bowl. The cub helped stir while each one was added.

cookie9

Forget the spoon. Textures are fascinating to toddlers and they learn more by using their hands. The cub rubbed her hands in the flour, lifting it up and watching it fall through her fingers.

cookie3

In goes the cinnamon, but first, stop and smell it.

cookie4

Yum, that pumpkin pie spice smells delicious (and like my favorite season)!

cookie5

After deciding it was time to take her hair down, we were back to finishing the cookies. We mixed the wet ingredients and added raisins for flavor and texture.

cookie6

With curiosity, she watched Grandma Didi add all the wet ingredients to the dry ingredients.  We decided to also add a delicious new find from Trader Joe’s to this recipe.   Pumpkin spiced pumpkin seeds.

cookie7

Time to scoop them onto the cookie sheet. The cub enjoyed using the ice cream scooper to plop the dough on the cookie sheet.

cookie8

These smell as good as they look. The cub thoroughly enjoyed her treat and we were so thrilled to introduce her to a pumpkin cookies. Something we will be enjoying for years to come! Note – This recipe was adapted from sallysbakingaddiction.com


Brown Butter Pumpkin Cookies


Ingredients

  • 1 cup (2 sticks; 230g) unsalted butter
  • 2 cups (170g) old-fashioned whole rolled oats
  • 1 and 2/3 (208g) cup whole wheat flour (spoon & leveled)
  • 1 teaspoon baking soda
  • 1/2 teaspoon salt
  • 1 and 1/2 teaspoons ground cinnamon
  • 1 and 1/2 teaspoons pumpkin pie spice1
  • 3/4 cup (200g) granulated sugar
  • 1/2 cup (150g) packed light or dark brown sugar
  • 1 egg yolk, at room temperature
  • 2 teaspoons pure vanilla extract
  • 1 cup (228g) pumpkin puree ( not pumpkin pie filling and not the whole can) see note at bottom
  • Optional:   golden raisins and pumpkin spiced pumpkin seeds(or plain)

Directions

Preheat the oven to 350 degrees.
  1. Brown the butter: Slice the butter up into pieces and place in a light-colored skillet. (Light colored helps you determine when the butter begins browning.) Melt the butter over medium heat, stirring occasionally. Once melted, the butter will begin to foam. Keep stirring occasionally. After 5-8 minutes, the butter will begin browning– you’ll notice lightly browned specks begin to form at the bottom of the pan and it will have a nutty aroma.  Once browned, remove from heat immediately and allow to cool for 5 minutes.
  2. Meanwhile, whisk the oats, flour, baking soda, salt, cinnamon, and pumpkin pie spice together in a medium bowl.
  3. Pour the slightly cooled brown butter into a large bowl. Whisk in the granulated sugar and brown sugar until combined. Whisk in the egg yolk and vanilla extract until combined, then whisk in the blotted pumpkin (see note about blotting). Slowly mix the dry ingredients into the wet ingredients until combined. The cookie dough will be thick and sticky.
  4. Add optional ingredients at this time if you choose.
  5. Using a medium cookie scoop, scoop cookie dough into balls (about 2 heaping Tbsp of dough each) and place 3 inches apart on the cookie sheet. Slightly flatten the balls out as the cookies won’t spread much unless you help out first!
  6. Top with more pumpkin seeds
  7. Bake for 14-15 minutes or until lightly browned and set on the edges.    Cool and store in airtight container in refrigerator or freeze.

NOTE:   For chewier cookies blot the pumpkin in a paper towel lined strainer or bowl and let it sit for 1/2 hour or squeeze it so it becomes drier.

Broccoli Cheese Muffins

Broccoli Cheese Muffins

Thankfully, our little cub still loves broccoli… for now. She will eat steamed brocoli dipped in yummy sauces or butter, blended in smoothies as well as mixed into baked goods. These Claire’s Little Tot’s adapted broccoli cheese muffins are an easy way to get broccoli in your little ones diet.

Not all mornings are created equal. On this particular morning, the cub wanted nothing to do with our recipe. We got creative and invited all her “friends” to cook with us. Cooking isn’t really worth it unless it’s fun! And cooking is always more fun with friends!

BC1

We started our cooking session by lining up all our toys to watch! The cub cut the broccoli in to little pieces, and then we finished the job chopping the broccoli with a big-kid knife.

BC2

In goes the flour and the crowd cheers!

BC4

We added all the dry ingredients and then Anna (from Frozen) wanted to stir, too! Team effort is important around here.

BC5

Grandma DiDi’s turn to stir! The cub says, “Say Cheese.”

BC6

Now it’s time to add the wet ingredients. This time Olaf is coming in for the assist. You can never have enough help.

BC7

After Grandma DiDi helped stir the ingredients well, the cub (and her baby doll) helped scoop the batter into the muffin tin. We popped them in the oven while the cub and all her friends waited patiently for the muffins to bake.

BC9
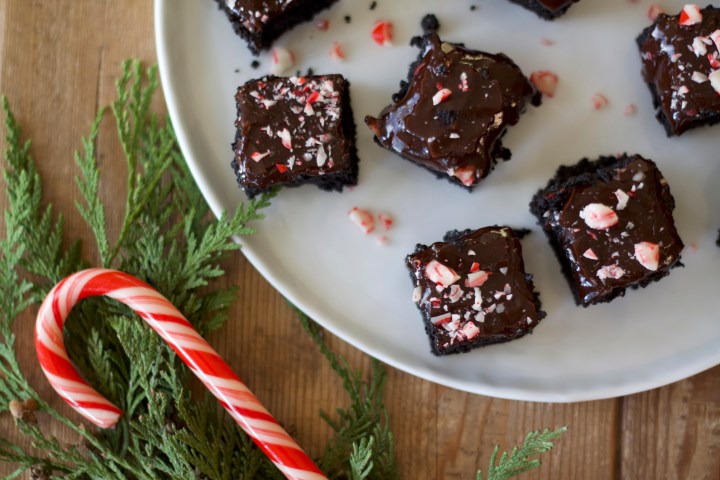
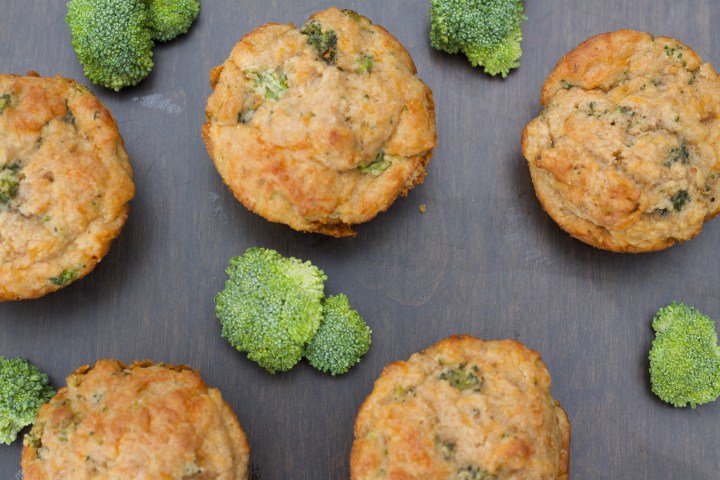
Ding! Cooked to perfection.


Broccoli Cheese Muffins


Ingredients

  • 8 oz of wheat flour
  • 5 oz grated cheese (we used shredded cheddar but any cheese would be good)
  • 1 small head of broccoli, chopped
  • 6fl oz of milk (I use whole milk)
  • 3 tablespoons of olive oil
  • 3 teaspoons of baking powder
  • 1 large egg, beaten
  • 1tsp salt

Directions

  1. Preheat the oven to 375F degrees
  2. Cook the broccoli until tender (boil or steam) and mash with the back of a fork
  3. In a bowl mix together the flour, baking powder, cooked broccoli and cheese
  4. Add the oil, beaten egg, milk and mix well
  5. Spoon the mixture into a well-greased 12 hole muffin tin  (the consistency should be a moist, sticky dough that is quite thick)
  6. Bake for around 30 minutes or until golden
  7. Transfer to a wire rack to cool.

Once cooled, store in an air tight container in the fridge for up to 3 days and eat cold or, if we’re at home, I reheat them for 30 seconds in the microwave. You can also freeze them for up to 3 months, just take them out when you need them and reheat once defrosted.


Options: Chopped kale, spinach, swiss chard, carrots grated zucchini or other types of squash can be substituted. Get creative with flavor. If your little one likes it, add onion, garlic, etc.